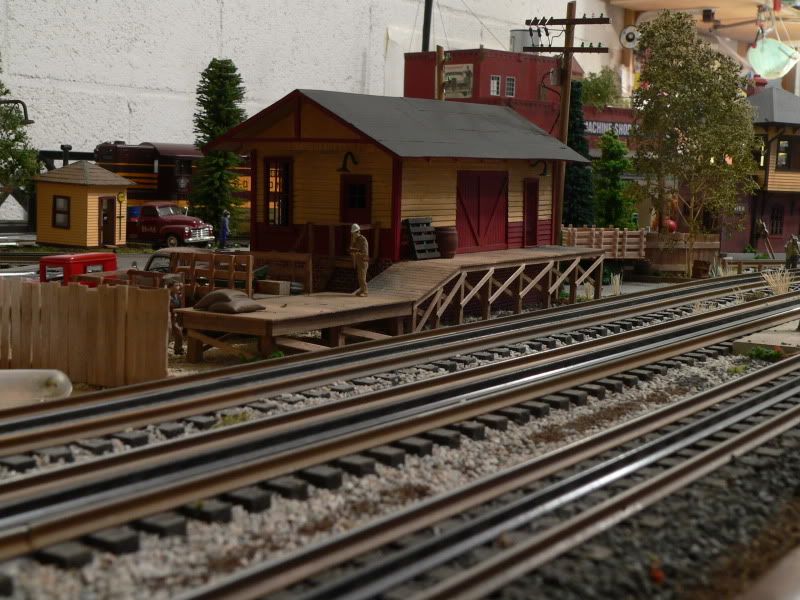
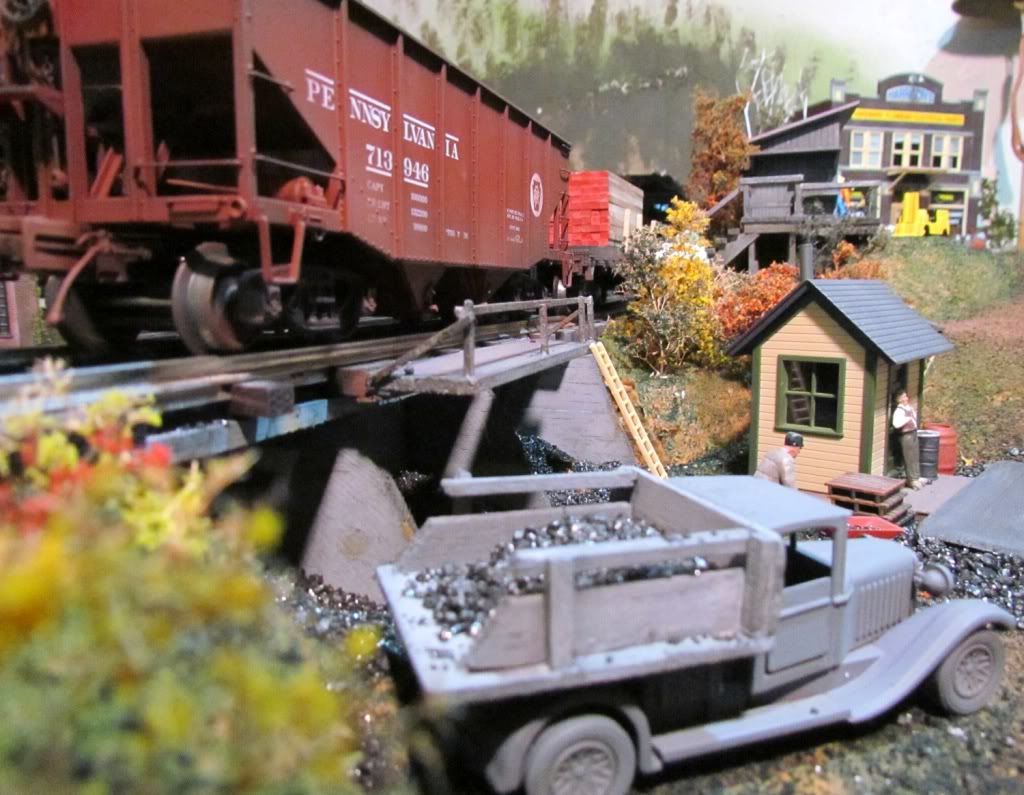
I love this photo of engine house service area view. I'm no artist at scenery but in my head it has magnificent detailing!
$oo
|


|
Replies sorted oldest to newest
Box car arrived Saturday afternoon. Actually I forgot about it so it was a nice surprise!
I added some grime, painted the inside, built a load and decorated a figure for it.
You don’t see these cars around much in O scale.
I’m really impressed with the MTH door design as they operate and close FLUSH like the real ones. My first MTH DPD. No breakable parts on it either. Blows Atlas away.
It’s 1970 Something…


SIRT,
nice weathering it really adds reality to the boxcar. you and others amaze me at your talent.
$oo
Very nice SIRT. You create these excellent renditions so quickly.
About the opening doors, I have noticed some of my newer Atlas boxcars have doors that do not open. Weaver has been advertising their products with opening doors. Something to think about.
Hey guys.
Was running a few "vintage" engines yesterday on the Eastern District and took a few pics. The Lionel Veranda from 2002, MTH Coal Turbine from 1999, MTH Propane Turbine from 2001 and the first of all the MTH turbines, #5 Gas Turbine from 1996. Hard to believe #5 is already 16 years old.
Donald
I'm gonna build me one of these:

This Jersey Central Gateman's Shanty near Wilkes-Barre was on my path to school every day in the 1960s. Its been on my build list for a long time. Finally made it to the top. Here's what we got so far:
Well, it's a start...
Pennsy484,
Great idea! I have a bunch of those panels left over.
Looks nice!
Dave
This was not up when I posted my water last night. Moving it here. I did this with EZwater in two pours and had to remove the seam with a heat gun also it cleaned up the Air bubbles and added a nice wavy surface. 1st time doing water, next time I know where I can improve.
I left these in the mold and forgot ... LOL 40 min drywall mud, this was left over mix from my water scene that was a little thicker than peanut butter - not any air pockets in the faces that would make a difference.
Nice pictures!
Here is my contribution.
B&M freight depot

AG.
As always I enjoy the Sunday contributions...
$00 Line, please post more pics of your layout. Would like to see more of the engine house.
sirt, can you do some video tutorials on how to weather stock, please ![]() My hubby wants me to try but frankly I am afraid. Love the figure sweeping!
My hubby wants me to try but frankly I am afraid. Love the figure sweeping!
Pennsy, nice work on the warehouse. Show us pics when it finds a new home on your layout ![]()
Tmack, very nice waterwork.Thanks for the tip.
Jim, the model your wife is making looks awesome.
AG, very nice train depot.
From my side I dont have much to contribute this week. Ballasting continues. Hopefully by next week I will have stuff to show...then again I said that last week... Happy Sunday evryone!

SIRT, as NJTrainChic says, I too would love too benefit from some of your weathering tips, although with the amount of great work you turn out, time is probably not your most available commodity. But, it sure would be nice...
TMack, the water came out great. Curious what you'd do differently.
Jim M, what a great building project. Are the stones being applied individually and of what material? Front entrance is really super.
AG, looks like some really nice detail on and around the depot. Great job.
Steve C. that's a great photo angle and a great shot.
Jerrman
pennsy484,
Nice job on the warehouse! I assume you joined several kits together. What did you use? The Homestead Furniture Company?
Great showcase, All!!
That stonework amazes me!
![]()
I agree. Great showcase everyone. My week to be the slacker. Sorry. Mike.
Jim,
It is nice to see some of Leslie's inspiring work again! Killin'!
Dave
pennsy484,
Nice job on the warehouse! I assume you joined several kits together. What did you use? The Homestead Furniture Company?
Hi Matthew,
Thanks! It is the Homestead kit and the Acme kit (which is like a half version of the Homestead kit), plus an extra roof and a couple extra loading dock platform sections.
Nice job guys!
Soo,
Ok, i like it tooo
Anthony,
nice shot of th freight station. Are those 3 resistors up on the telephone pole?
484,
thats alot of kits and alot of work, good job , huge building!
Jim,
Leslie does some beautiful work. I still remember the last place i would of moved into she did.![]()
Steve,
Sounds like your happy with the new offering, great job on the lumber company car.
Avanti,
look forward to the next step,neat little watchman shanty.
Maybe some more info on that stone later. It is super!
Donald,
UP ,UP,UP and away, alot of muscle there, I know what ya mean, seems like yesterday when i picked up the cab-1.
Tmack,
looking good on the water
Corsair,
thats a nice shot!
Thanks to every one that posted. I really enjoy all the pics each Sunday.
Thanks everyone - I am slowly realizing with the amazing work you all do that investment in an airbrush will be coming some day. ![]()
Jerrman - The angle of the shot I used for the photo looks pretty good, but my painting of the bottom can be vastly improved. I did not realize how clear the EZ Water would come out. I read that it burns easy - I had it in a pot from the dollar store over a coleman propane camp stove and it did not even come close to burning - same thing with the heat gun. So it comes out clear - I will factor that in next time. I dont think you can go much deeper than 1/8" and forget two layers - it was hard enough to melt the vertical seam between the two pours.
- I had it in a pot from the dollar store over a coleman propane camp stove
LOLLOL--I have to laugh at the things we do to acheive a scenic look! Thanks Ted for a good laugh and glad to see there are others who will even use camping stoves for a railroading scene.![]()
- I had it in a pot from the dollar store over a coleman propane camp stove
LOLLOL--I have to laugh at the things we do to acheive a scenic look! Thanks Ted for a good laugh and glad to see there are others who will even use camping stoves for a railroading scene.![]()
At least I was in the garage with the door open ..... ![]()

In my view there are two very positive aspects to the Sunday Showcase. One is the magnificent work everyone does, its truly inspiring! Two is the equally magnificent photography skills shown. You guys are just Great!
Ive been working on detailing two pump jacks and the module they sit on. Im hoping to post that work soon, its just taking a LOT longer than I expected.
Also a BIG thanks to OGR for the new forum ...its awesome!!
Heh Jim:
Have you posted any recent photos of that mountain you were adding to your layout?
Thanks everyone - I am slowly realizing with the amazing work you all do that investment in an airbrush will be coming some day. ![]()
Jerrman - The angle of the shot I used for the photo looks pretty good, but my painting of the bottom can be vastly improved. I did not realize how clear the EZ Water would come out. I read that it burns easy - I had it in a pot from the dollar store over a coleman propane camp stove and it did not even come close to burning - same thing with the heat gun. So it comes out clear - I will factor that in next time. I dont think you can go much deeper than 1/8" and forget two layers - it was hard enough to melt the vertical seam between the two pours.
Well, since you're on-site, I'll take your word for it. All I know is it looks really good from here. Maybe you should consider Magic Water or Envirotex lite. Both are resin pour products and you can do multiple pours. I believe they all dry clear. So, you have to either paint the bottom fairly dark, especially in the middle section and then lighter at the ends where it hits land and/or mix in a few drops of paint with the pours. Anyway, it's a pretty good try on your part.
Jerrman
Jerrman, Thanks - I wanted to try the EZwater because I liked the idea that it sets as fast as it cools If you can work with 1/8 to a little thicker on the initial pour on a large area, there is almost no wait time and you can keep working the scenery in that area. Also if it gets scratched, whip out the heat gun and it's as good as new.
Access to this requires an OGR Forum Supporting Membership
