Darn it, Steve. I like yours better than mine. Dusty and dirty definitely captures the look of the CNJ!!
Watch out for those stone throwers Joey, here -http://www.youtube.com/watch?v=aAmeo8zG2Wc
enjoy!
|


|
Darn it, Steve. I like yours better than mine. Dusty and dirty definitely captures the look of the CNJ!!
Watch out for those stone throwers Joey, here -http://www.youtube.com/watch?v=aAmeo8zG2Wc
enjoy!
boin106:
Your photos and your layout are outstanding! Great job!
Mike
Amtrak F40PH showed up this week...
This one leaves no doubt about the train its intended for. It has 'Freight yard' effects--in the guise of the Exhibit Train's itinerary.
I'll have more photos comparing this one with the PS-1 version tomorrow--there are a number of detail upgrades versus the earlier model.
---PCJ
Not my picture (I'm still in TN, sorry!) but how about some double-headed steam on the Reading & Northern?

Tom (Gilly@N&W) and I worked to get the yard on our modular layout ready for further ballasting. The styrofoam is Tom's idea.......it really cuts down on the ballast in an area where the terrain is level at tie height.
Peter
Coal, black gold, quickly being replaced by Marcellus Shale gas in this modern, clean world.![]()
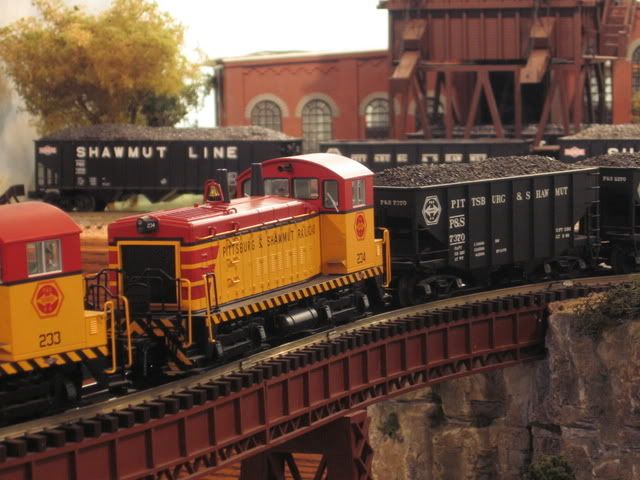
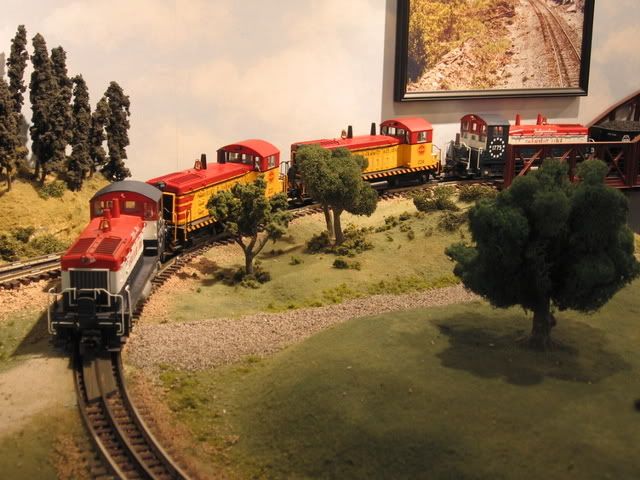
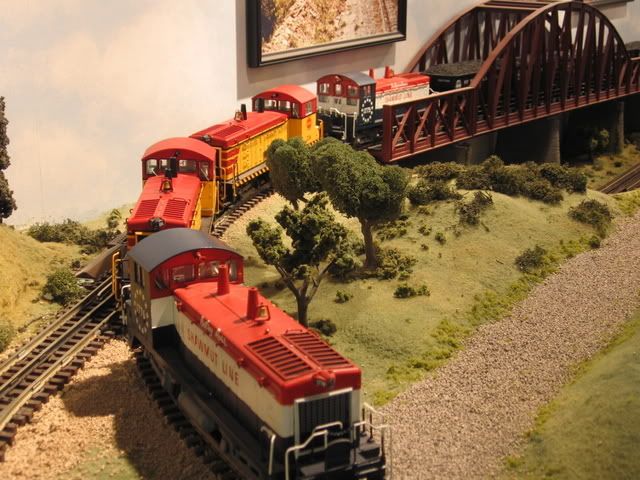
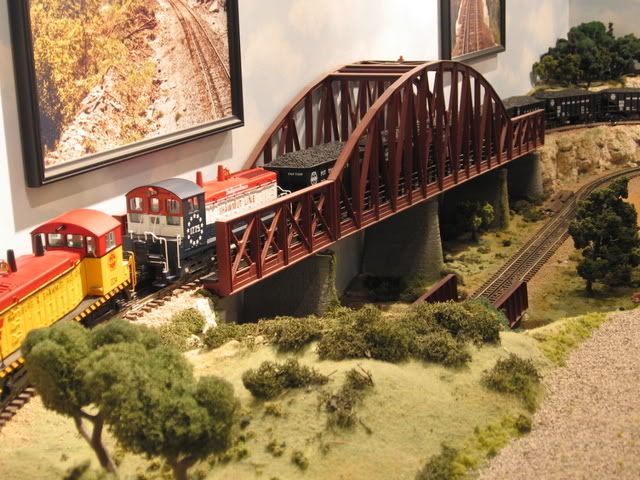
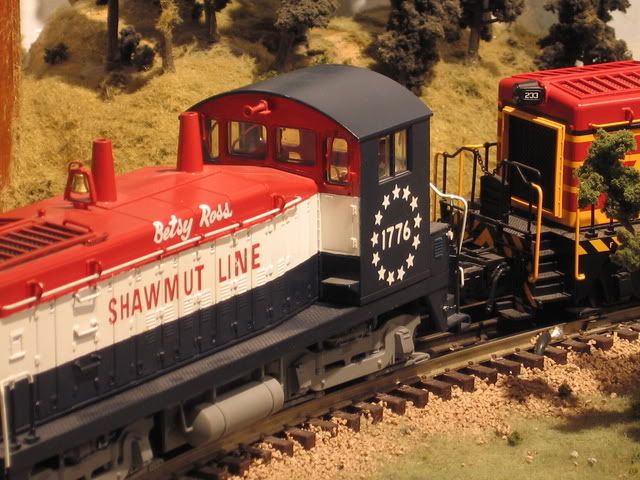
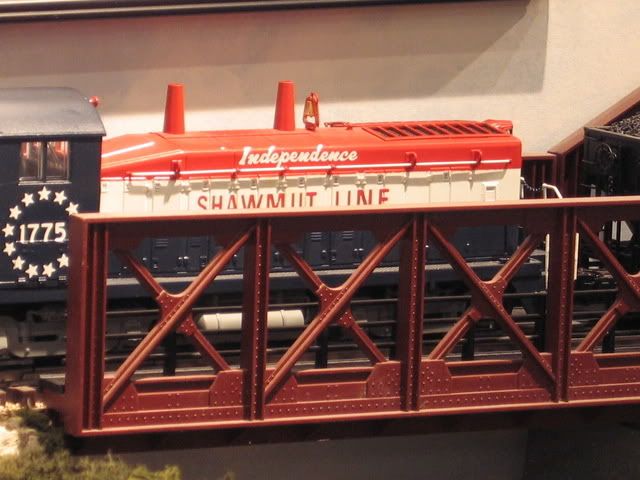
Another coal hauling pair of Atlas SW9's
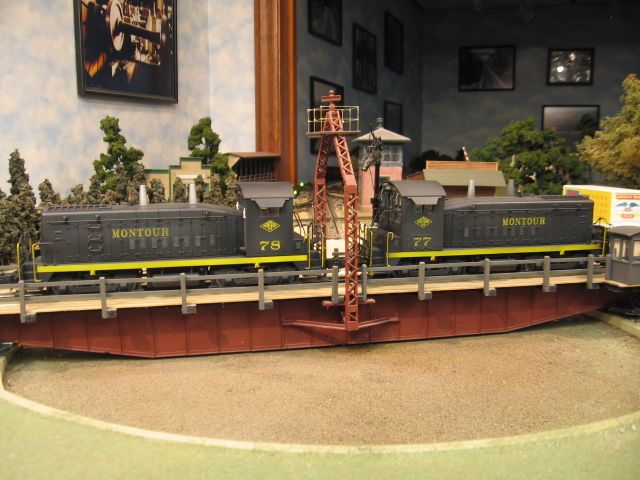
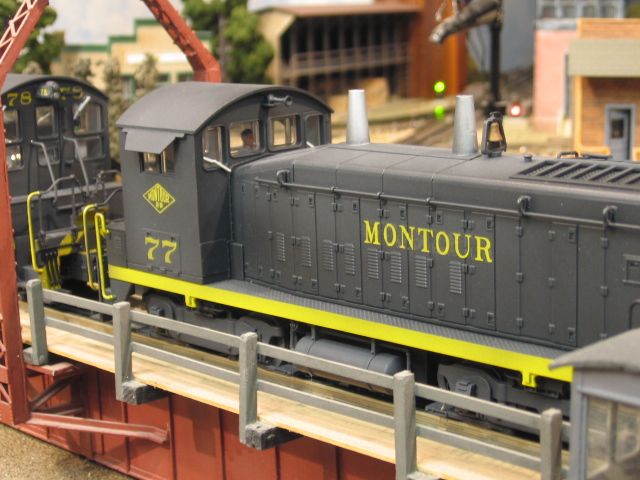
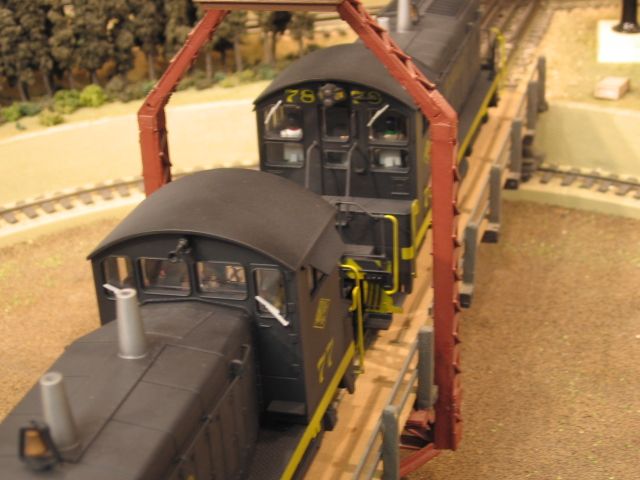
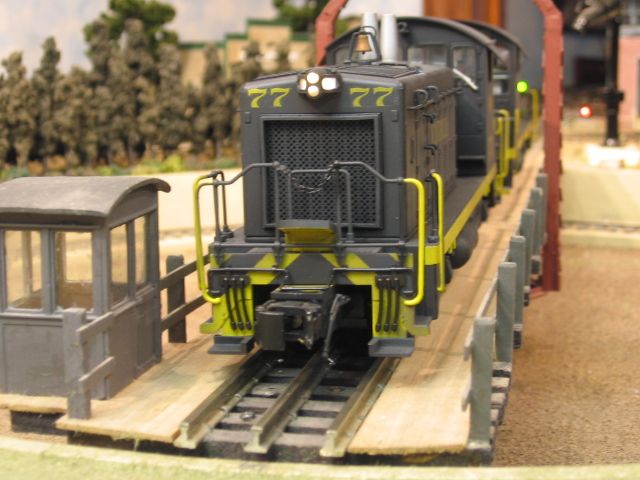
Great Stuff Gents,
Jim P. A little info on the coupler conversion of the WP loco please. I am contemplating the very idea of Kadee Couplers on swinging pilots. As opposed to the full on 3RS treatment.
Many Thanks.
Rick.
Tom (Gilly@N&W) and I worked to get the yard on our modular layout ready for further ballasting. The styrofoam is Tom's idea.......it really cuts down on the ballast in an area where the terrain is level at tie height.
This is 1/4" Z Fold insulation I bought at Lowe's. Cuts very easily with a box cutter or razor blade. I use this technique any time the ballast needs to be level with the ties. This will save you a ton on your ballast. The fifth picture gives a really good view of "before" and "after" ballasting.
Gilly
BTW, before ballasting, I do paint this earthen brown.
The K-Line scale Hudson got some workbench time this weekend. I removed and painted the marker light housings, tender steps and all other chemically-blackened metal parts on the model and painted them a matching satin black. This by itself made the model look 100 times better. One of my gripes with K-Line was always that they always used that awful blackening on smaller metal parts which ages and turns an ugly shade of green over time, which really takes away from the beauty of the model. I will get around to adding a Kadee to the tender sometime, it will require a bit of work to mount it properly.


interesting and a study in contrast. I refuse to have a Tucker on my layout, because the die-cast market is flooded with the things and there were only a handful made in the real world. Preston Tucker was a charlatan of the John Delorean ilk and the Tucker was in fact a lousy automobile, but it lives on in legend. It's easier to find a die-cast Tucker than most of the cars that actually existed on the street in the late 40's and early 50's.
Great Stuff Gents,
Jim P. A little info on the coupler conversion of the WP loco please. I am contemplating the very idea of Kadee Couplers on swinging pilots. As opposed to the full on 3RS treatment.
Many Thanks.
Rick.
Hi Rick,
Mounting the Kadee wasn't too difficult but did require tapping and drilling.
To get an idea of the shim (if any) needed, eyeball the top of the 3-rail coupler in relation to the underside of the pilot. The top of the Kadee will end up being at the same height as the top of the knuckle.
1. Drop the truck and remove the 3-rail coupler.
2. Assemble the Kadee with it's coupler box. Remove pilot, set the box in place and mark the hole positions (the two on the outside ears of the box).
3. Use a sharp punch to start the holes so the drill doesn't wander, and drill with a #50.
4. Tap the holes 2-56.
5. Attach the Kadee box with two 2-56 machine screws, adding the required shims (I use scrap styrene).
6. Cut off any part of the screw that protrudes above the pilot and file flush.
7. Reassemble pilot and truck.
Jim
the Tucker was in fact a lousy automobile
The problem was tucker went from prototype to production quicker than he wanted to. I found an interview with a tucker collector on you-tube that explained the progression of the Tucker Engine and Transmission, and yes the first ones had issues, but things got worked out with the Franklin Engine and I believe it was a Cord Transmission. The collection has now been Given to the Hersey Car Museum, in Hersey PA, It also includes an almost complete set of Tucker Company Blueprints
Found the video, http://vimeo.com/40808381
Tom (Gilly@N&W) and I worked to get the yard on our modular layout ready for further ballasting. The styrofoam is Tom's idea.......it really cuts down on the ballast in an area where the terrain is level at tie height.
Peter
Bruce
Super job, know that is not an easy kit to assemble.
Bruce
Super job, know that is not an easy kit to assemble.
Masonite is do-able. More expensive, heavier, and more difficult to cut. HOWEVER, for a perminant layout, it would be more durable. Weight is a major factor for us with the modular layout.
Gilly
Bruce,
Great job. I just finished that kit. What is the "yellow" you used? Who makes it and what is the color name? Looks great. Also, I like the sewer pipe you place outside. I did not have that in my kit. How did you make it?
John
Bruce,
Great job. I just finished that kit. What is the "yellow" you used? Who makes it and what is the color name? Looks great. Also, I like the sewer pipe you place outside. I did not have that in my kit. How did you make it?
John
Access to this requires an OGR Forum Supporting Membership
