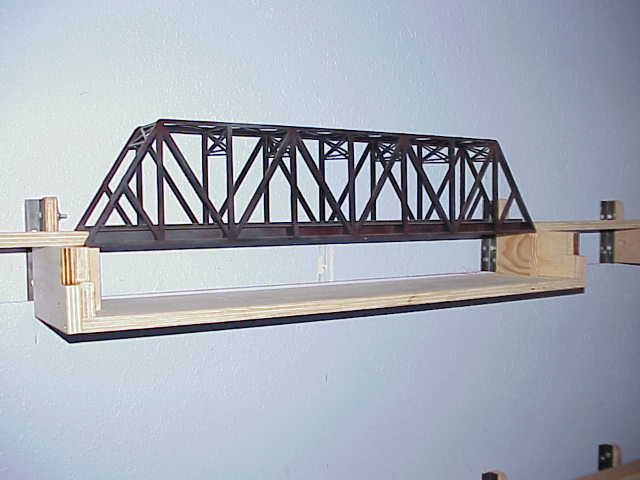
I'm sure this topic has been covered before, but I just got back into the hobby again, so please bear with me. I'm looking to build a double track Pratt truss bridge. I know Atlas sells a kit for this, but it's hard to find, and costly when you find it. I'm willing to build one with a little less detail, so I can use my available funds for switches, track, signals, etc. Do Plastruct still sell structural O-scale beams? Thanks for the input.


Geno

Original Post

Replies sorted oldest to newest

I have alot of bridges on my layout some from scratch, some store bought.

If you are set and really want scratch to build this bridge do it!

Plastruct still sells structural shapes at my LHS.

The toughest thing will be to generate some drawings of what you want. I would collect allot of prototype photos before you begin.

Then I would create a "jig" or fixure to build up both sides, then another for the "floor structure"

Be prepared to spend alot of time on it. The Atlas bridge is great and they do come up at shows for a good price. But Scratch building is so much more unique.


I'm a fan of "concrete" as they're pretty easy to build, materials are inexpensive, and they are structurally strong. If you have access to a laser cutter, you can make some pretty ornate structure work.


A truss bridge is tricky as you need something strong to support the tracks on the span other than the truss itself which is largely cosmetic. Even the Atlas pratt truss bridge isn't supported by the truss -- it has steel stringers in the span that actually hold everything up.


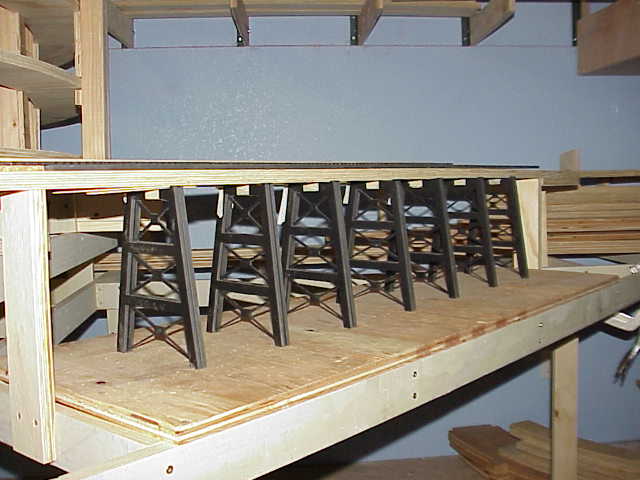
A trestle is, ironically, very strong despite the delicate looks because of how the bents are constructed (use a jig or you'll go crazy) and the stringers under the track. The bents hold up the stringers. The cross bracing is just cosmetic.

Originally Posted by 72blackbird:

I'm sure this topic has been covered before, but I just got back into the hobby again, so please bear with me. I'm looking to build a double track Pratt truss bridge. I know Atlas sells a kit for this, but it's hard to find, and costly when you find it. I'm willing to build one with a little less detail, so I can use my available funds for switches, track, signals, etc. Do Plastruct still sell structural O-scale beams? Thanks for the input.


Geno

Geno,


Some years back, I built a single track, O scale Pratt truss bridge using Plastruct materials and their HO plans.  The plans were enlarged using a copier and Plastruct materials adjusted accordingly.  It was my first scratchbuilt project and turned out very well to my eye.  The only thing I could not replicate was the fine rivet detail that you'll find on the Atlas bridge. 


It was 24" long and very strong.  I'd like to do another, but I can't find the plans.  Plans are included in Plastruct's HO kits of the Pratt truss bridge.  I'm hoping to avoid buying an HO kit that I don't want for $25 just to get the plans.


I'd plan on using the stringers like Atlas does and adjust the plans accordingly to accommodate them to build a much longer bridge.


Let me know if you find some plans. 


Matt supplied me with a website of prototype info and I'm still looking at the site to see if there is something I'd like to build.

Last edited by Pingman

Carl, 

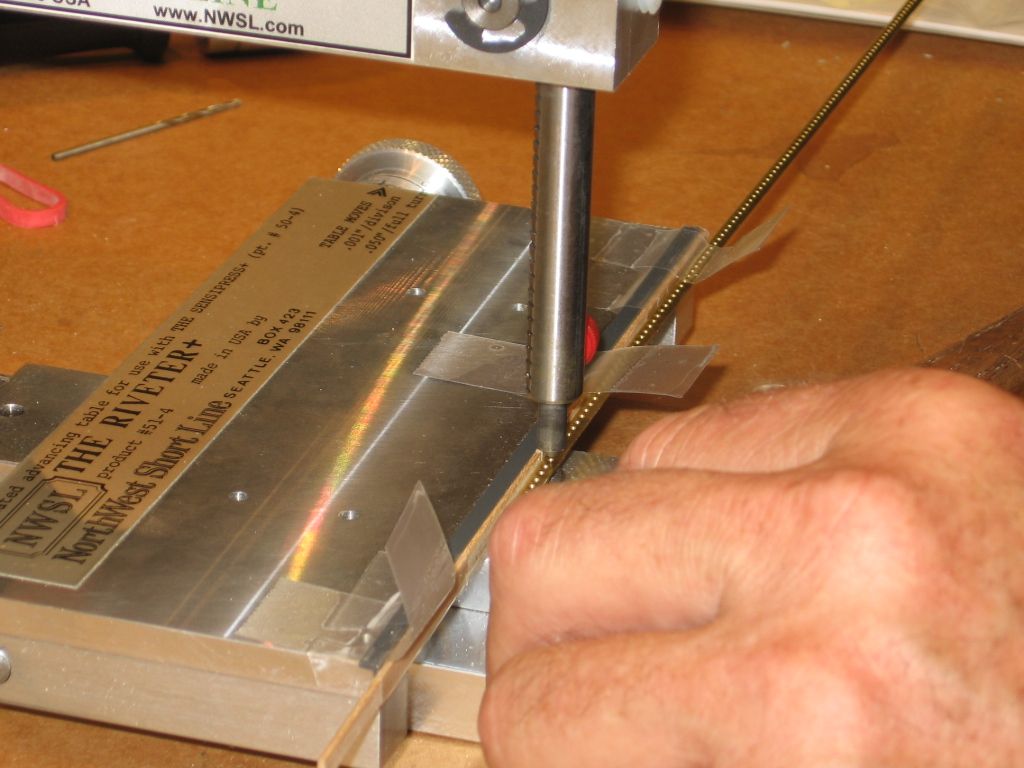
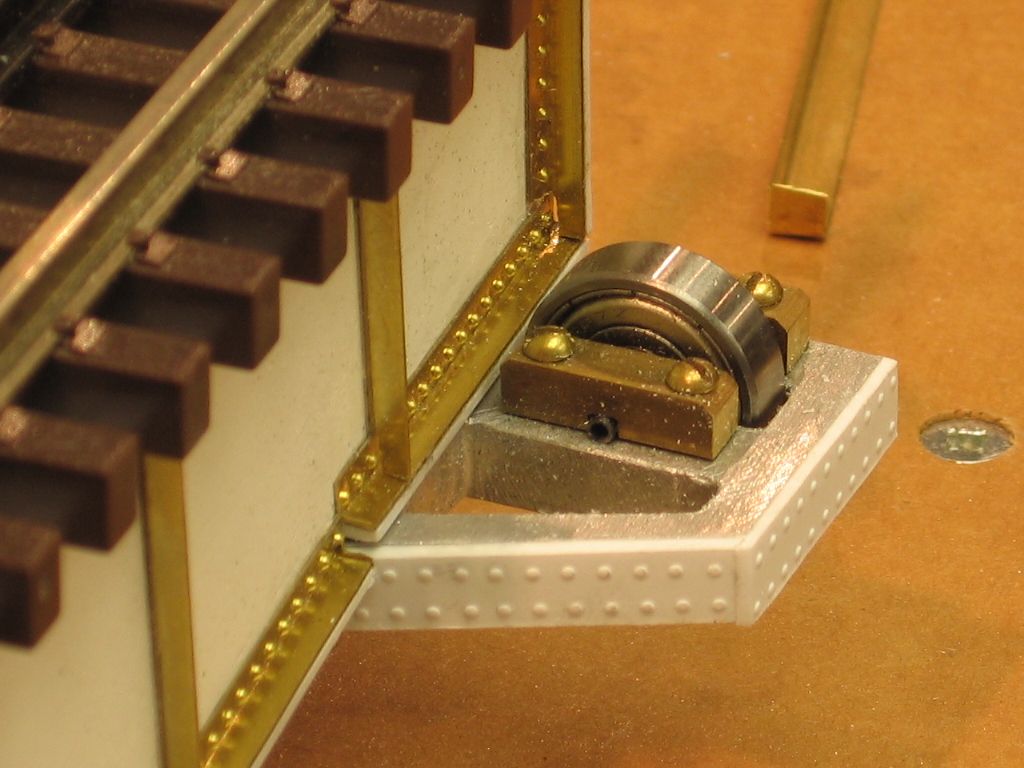
You can buy rivets that can be applied to your bridge members. I forget where to get them, but a google search or someone on this forum will help.

I have built a few bridges, 3 from wood, and one from steel. The steel bridge is soldered. When i made my side girders, I used very thin sheet metal which I hand punched rivets, and then folded the metal in half, showing rivets inside and out. It was a tedious process, but well worth the time spent. I will take some photos and post them. I do have a complete series of build process, but they are in my other computer, and posted on another forum. I tried to transfer them, but it didn't work.

Don

Rail, thanks for the suggestion to look for add-on rivets.  The plans I worked from actually supplied rivet detail for the gusset plates.  I used a nail head to emboss the styrene plates rather than leave them blank; turned out pretty good--even fabulous for the uninitiated.


PS:  I better get busy building bridges--I have 8 pairs of Auell Industries bridge shoes to put to use.

Last edited by Pingman

Thanks for all of the replies. I'm not a rivet-counter per se, but if the rivet detail can be done, I'd be willing to try it.  The bridge I need has to span a 36-40" opening, be hinged on one side, and sturdy enough to take repeated openings and closings- it will be in front of the entry door, so it will get lifted alot. I think all of that intricate strap and an angle detail isn't really necessary- in fact I think it would just get broken if I tried to replicate it in scale. I still need to do more research on what type of bridge will be appropriate.

Geno

Originally Posted by 72blackbird:

Thanks for all of the replies. I'm not a rivet-counter per se, but if the rivet detail can be done, I'd be willing to try it.  The bridge I need has to span a 36-40" opening, be hinged on one side, and sturdy enough to take repeated openings and closings- it will be in front of the entry door, so it will get lifted alot. I think all of that intricate strap and an angle detail isn't really necessary- in fact I think it would just get broken if I tried to replicate it in scale. I still need to do more research on what type of bridge will be appropriate.

Geno

why not just go with a girder style bridge and avoid the worry of something getting broken

IMG_2922

IMG_2981

IMG_3033

Attachments

Images (3)
  • IMG_2922
  • IMG_2981
  • IMG_3033

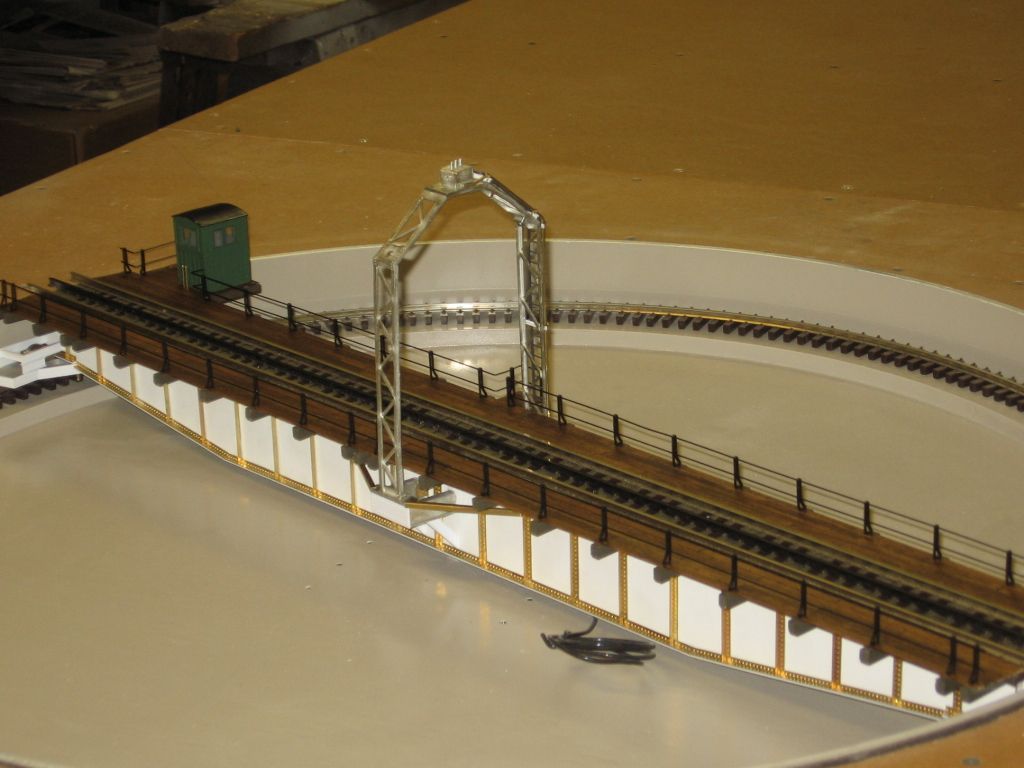
Pingman, the span is 41".  Leads from main layout to a small table on which is turntable and loco storage.  It's hinged at the turntable yard end.  The picture below is with it raised.  When lowered, the cable gets plugged into a socket to supply all power.  The under track strips fit into slits in the main table, and when they do, they press a microswitch.  When opened, the microswitch releases and throws a switch on the main table, so trains can't take the route to the open bridge.

Bridge 2

Attachments

Images (1)
  • Bridge 2

Truss bridges needn't be delicate.  ALong the NE Corridor, some of the brisges appear to be very sturdy, in contrast to the many bridges similar to those tr18 depicts, that are found throughout the county.


Not strictly speaking abridge, the picture below is a scratch-built 2-track coal trestle.  Unloading cars dump into a hopper, whose chute feeds into the scoop of a #97 coal elevator on the next level down.

trestle

Attachments

Images (1)
  • trestle
Originally Posted by RJR:

Truss bridges needn't be delicate.  ALong the NE Corridor, some of the brisges appear to be very sturdy, in contrast to the many bridges similar to those tr18 depicts, that are found throughout the county.


I was of course referring to "models" of truss bridges like the ones we build. I would surely hope the real ones are sturdy

 Nice work, and good timing Avanti Pete, I was ready to do something like this myself. I've been using up some old latex wood putty up before it dries in the tub. That looks more like cement. The putty looks too smooth, cant get the stipple right.


 You need a hiker with a huge pack dressed in blue looking down into the water


IMG_2675

Attachments

Images (1)
  • IMG_2675

Don't bet on it.  I know of some that are so antiquated and deteriorated that there are very low speed restrictions.


Because of the geometry, even a model with thin strips can be strong:  the critical issue is how the members are fastened together


Those bridges you show are good-looking.

Last edited by RJR
Originally Posted by RJR:

Pingman, the span is 41".  Leads from main layout to a small table on which is turntable and loco storage.  It's hinged at the turntable yard end.  The picture below is with it raised.  When lowered, the cable gets plugged into a socket to supply all power.  The under track strips fit into slits in the main table, and when they do, they press a microswitch.  When opened, the microswitch releases and throws a switch on the main table, so trains can't take the route to the open bridge.

Bridge 2

WOW!!!

Originally Posted by Adriatic:
Nice work, and good timing Avanti Pete, I was ready to do something like this myself. I've been using up some old latex wood putty up before it dries in the tub. That looks more like cement. The putty looks too smooth, cant get the stipple right.


I should have mentioned that the concrete was finished with a light dusting of Rust-Oleum  Desert Bisque, which is a textured paint.  

I constructed several for our layout from different materials - but mostly stripwood. Also 1/8" masonite for girder bridges. It was fun.

We had 16 or 17 bridges and trestles...


IMG_0913

DSC01482

DSC01501

DSC01700


These orange trestles are from my boyhood American Flyer trains. Still look good today

DSC01813

DSC01835


The railings were lifted from the MTH Truss bridges and used in several configurations

DSC01876

DSC01877


This 3 track (1 over a double track line) Truss is about 4' in length and made from ripped basswood

DSC01898

DSC01901


The concrete piers are 2x6 pine with a spackling layer applied

DSC02096

DSC07520

DSC07525


The lower arched 'causeway' is the Key West Causeway made from blue foam board

DSC08182

DSC08220

DSC08756

Attachments

Images (17)
  • IMG_0913
  • DSC01482
  • DSC01501
  • DSC01700
  • DSC01813
  • DSC01835
  • DSC01876
  • DSC01877
  • DSC01898
  • DSC01901
  • DSC02096
  • DSC07520
  • DSC07525
  • DSC08182
  • DSC08220
  • DSC08248
  • DSC08756
Last edited by c.sam

Geno,  Try to find a Atlas bridge. In the long run its worth the money and the detail is great. The double track are hard to find but the singles are around and there is a expansion/add on kit to convert to double track. They can be a little bit of a PIA to assemble but easier than scratch building. Use Plastruct Plastic Weld for assembly.  I saw a single track bridge today at Mercer Junction.

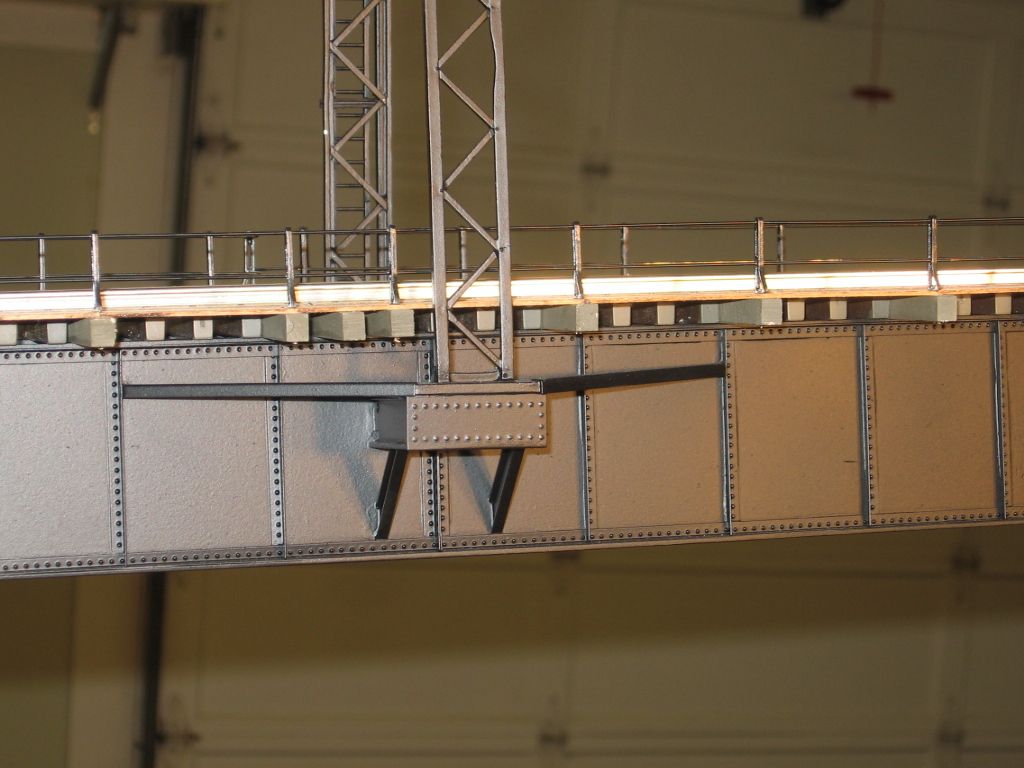
Ok here's what I got.  I built this over the summer.  I used 1/2" hollow steel tubing.  I cut all of the angles with a cheap chop saw.  The entire bridge is mig welded together so it's the most durable piece on the layout.  


image

image

image

Attachments

Images (3)
  • image
  • image
  • image
Last edited by Former Member

Add Reply

Post

OGR Publishing, Inc., 1310 Eastside Centre Ct, Ste 6, Mountain Home, AR 72653
800-980-OGRR (6477)
www.ogaugerr.com

×
×
×
×
Link copied to your clipboard.
×
×