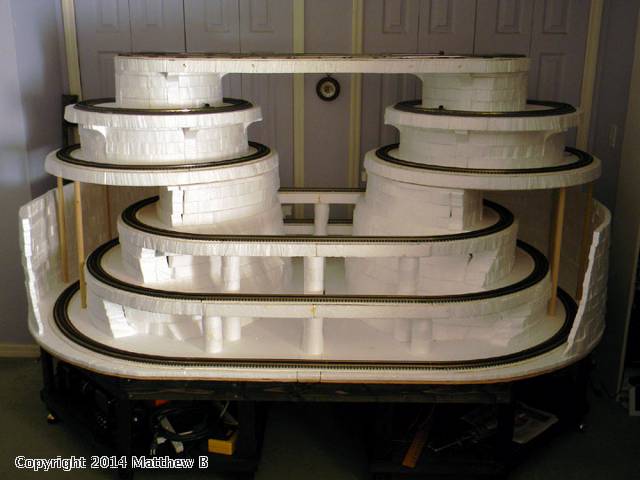
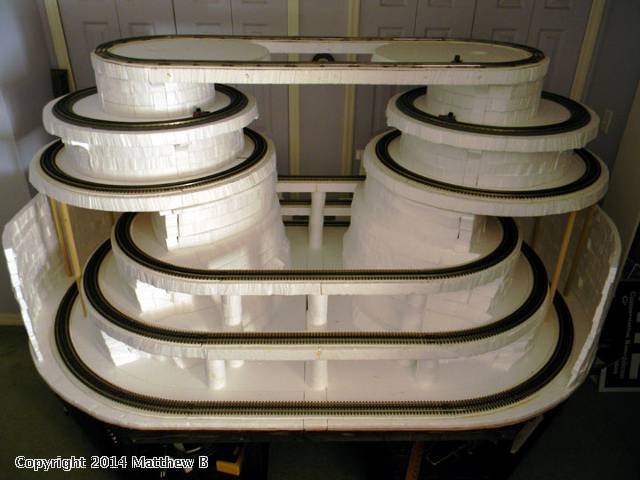
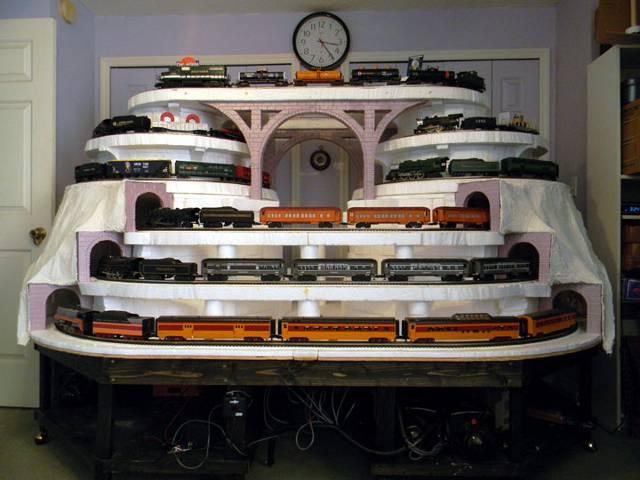
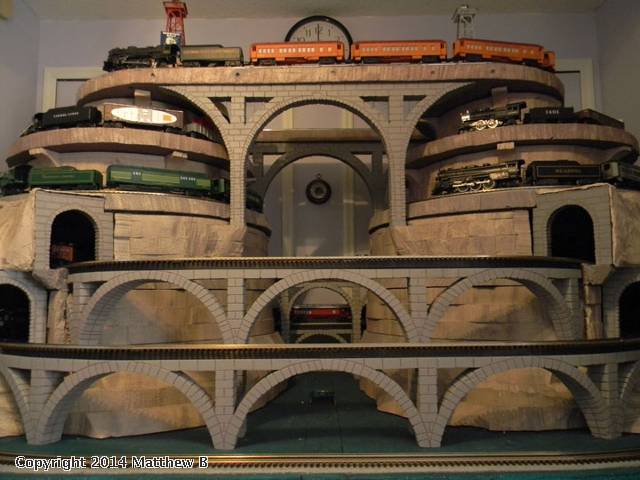
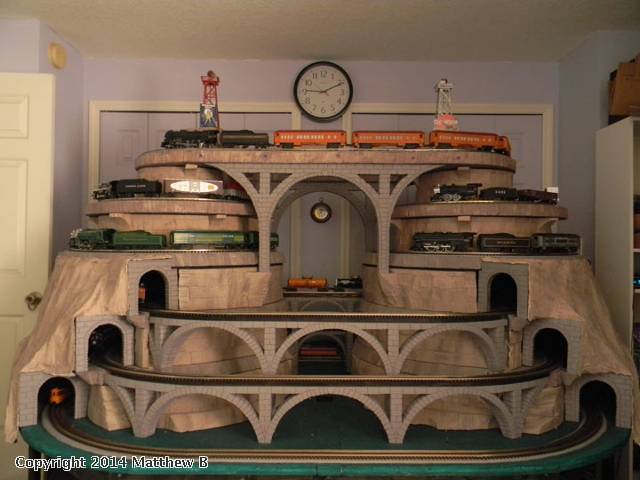
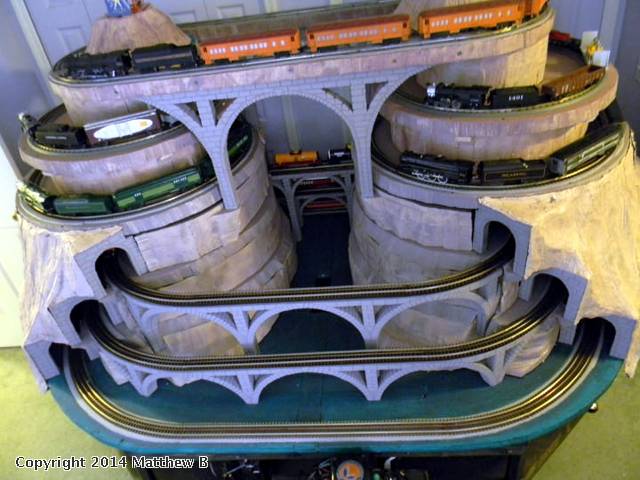
Before the display could be moved upstairs we needed to make a new cart. Last years cart was about 7’ x 4’ and 27” high Because we are now supporting a 54” loop at the base and the height will increase by approximately 8”. We started from scratch. The only things we’re able to salvage are the legs and ball casters. The new cart will again use 14 ball casters and measure 8’ x 5’ x 20” high. From bottom railhead to top railhead the display will be approximately 40”
Here’s a picture of the new bench work while we were creosoting it (ebony mimwax). The frame is upside down at this point. It’s made of two pieces that will be joined together with two 1” x 4”s later in assembly.

When working with dark colors I tend to stain everything that is visible from any angle. The reason is because after the piece is completely assembled there always seem to be a few spots that stand out I didn’t think would be visible and didn’t bother to coat. Light seems to magnify these imperfections and it will nag at me every time I see it. So I jam the brush into every crevice attempting to get the most complete coverage possible. I know something will be missed but at least there won’t be as many white spots had I not tried. A Sharpy is a great tool after assembly.
The grid work for the bottom shelve consists of 2” x 2” cross members with a dado joint at the center junction and 1” x 2” joists. The grid work is recessed ¼” below the outside frame to make sure the shelve will be flush when I lay down the ¼” plywood. Some people like a lip around their shelving. But the shelve only being 6” off a carpeted floor I’m not too worried about damage to anything falling off. Besides that’s a pretty low shelve and with everything flush it will make it easier to access what ever I deside to stow on it.
Now to disassemble the Christmas Display and put the decorations away, so I can get to the wheels.


