
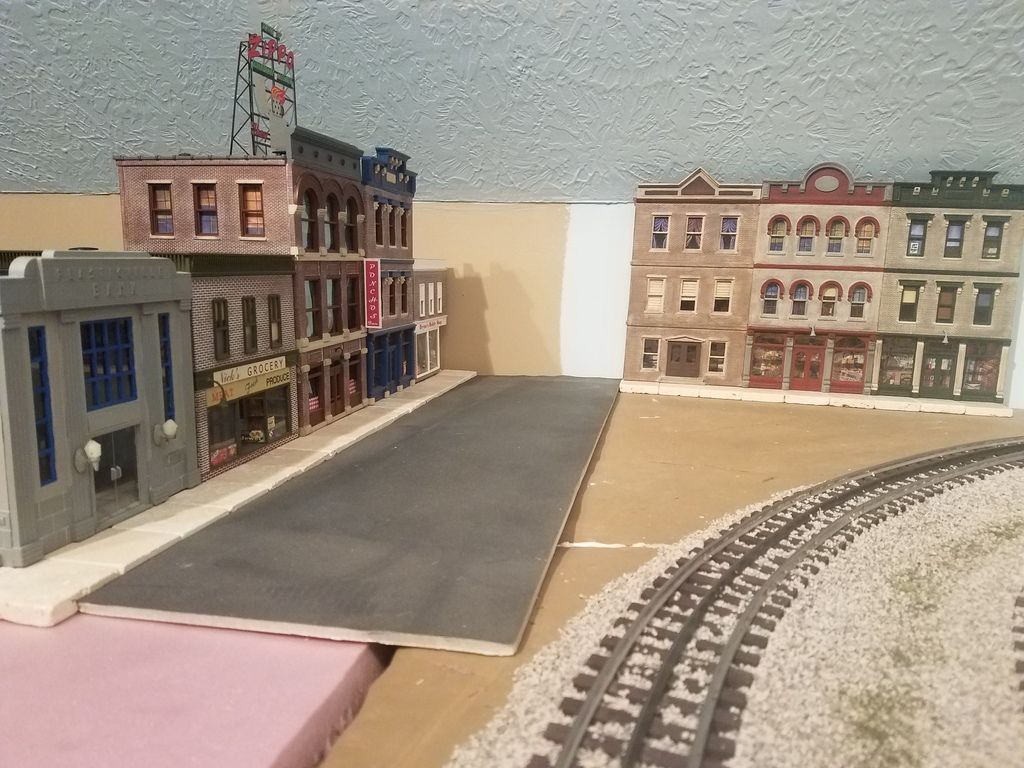
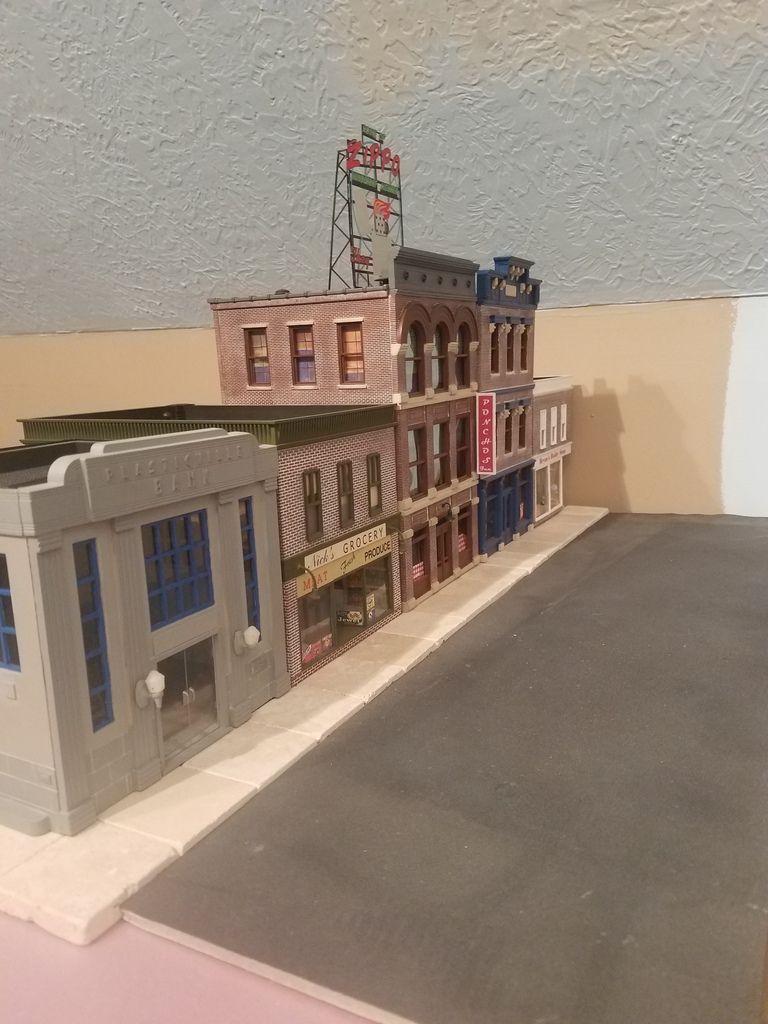
No work on the layout today but that will change tomorrow. Went down to Menards to pick up my package and when I got home my package from Gar Graves was sitting on the steps. I was in Limbo till that came. I needed some tight curves and they had 0-32 which will work for me. The curved track is for behind the power plant. Two sidings one going through the plant and the other going right beside that. The curves are for behind the building so I can push hoppers onto both tracks but they will be hide behind other buildings. So tonight I  opened all the packages. It's like a belated Christmas LOL. Anyways some pics. The pic with the track shows what I had in mind. The curves will be on the back side of the plant going in the other direction ...........Paul

DSCN0149DSCN0150DSCN0151DSCN0152DSCN0153DSCN0154DSCN0155DSCN0156

Attachments

Images (8)
  • DSCN0149
  • DSCN0150
  • DSCN0151
  • DSCN0152
  • DSCN0153
  • DSCN0154
  • DSCN0155
  • DSCN0156

Video:

Great Northern railway in the cascades mountains.
Another railroader brought over his micro camera and we mounted it on a car and pushed it along my layout.

Bad news; it sure shows all your discrepancies:

The good news: at least my new trees look nice!  Laying down individual wooden ties definitely give a random tie appearance.

Don't need to watch after the camera goes into the tunnel for the last 30 seconds.

https://www.youtube.com/watch?...amp;feature=youtu.be     

M. Mitchell Marmel posted:
Mark Boyce posted:

Mitch,

They are blue!  They would go right with the Gi-raffes!!  

If so, I have a couple brakeman cars I can donate to the cause!  Let me know!

Mixed consist?  Gi-raffe-brakeman-gi-raffe-brakeman!  I love it!  You're on!  Drop me an email, please!   

Mitch

Sounds like a plan...can't wait to see a video of all of the hopping gi-raffe's and brakemen!

samparfitt posted:

Video:

Great Northern railway in the cascades mountains.
Another railroader brought over his micro camera and we mounted it on a car and pushed it along my layout.

Bad news; it sure shows all your discrepancies:

The good news: at least my new trees look nice!  Laying down individual wooden ties definitely give a random tie appearance.

Don't need to watch after the camera goes into the tunnel for the last 30 seconds.

https://www.youtube.com/watch?...amp;feature=youtu.be     

The video looks great!  I left a message on YouTube!

I have yet to get to the basement. Had a few things to finish and the wife has a 3:00PM Cavs game so that gives me my window for working on the layout. I found a Weaver flat car and placed two Menards tanks on it. I know the tanks are not 1/48. So should I work with this size flat car or go for a smaller flat with one tank per car. Pics of the flat and tanks...........Paul

DSCN0157DSCN0158

Attachments

Images (2)
  • DSCN0157
  • DSCN0158

I didn't work on anything per say last night.   But I did take the time to take each of the 57 pieces of rolling stock I bought out of the box for a minute to check them out.   Got 3 covered hoppers, two Christmas cars that just happen to be the years my kids were born.   5 cars with sprung trucks.  8 alcohol related boxcars.  2 road runner gondolas that the coyote chases the road runner around.  A bugs bunny car that he and another figure bob up & down.  3 operating hand cars, santa and mrs clause, railroad guys, snoopy and Woodstock.   A big green giant billboard box car.   A very old Fort Knox gold car in a box the says "lionel New York and Chicago.  A cool tank car. And a bunch of other boxcars.  All but two were new in the box.   Two of them had gotten hot or something and the bodys were warped up.      Overall very happy with them! 

Jim

If you didn't think ahead 30 years, you will, eventually, need one of these!

Topside creeper.

Purchased it from micromark.  I thought it was made for modeling purposes but the manufacturer (traxion engineered products) shows it for access to your vehicle motor, etc.

The hardest part was getting the 77 lb box from outside down to the basement.

It went together quickly: probably an hour.

I can now access that track that is 5' high and 3'-4' back along the wall

The front casters has locking tabs.

The upper step section has 3 adjustment locations for tilting the upper section.

The height is also adjustable.

For storage, I had to angle, rotate the base to get through the laundry room 32" wide door.

Some release pins allow the base legs to fold up into a tidy, vertical position.

The legs tend to fall forward so I'll put a bungee cord around them.

Very well made and sturdy.

topside creeper 01topside creeper 02topside creeper 03topside creeper 04topside creeper 05topside creeper 06

Attachments

Images (6)
  • topside creeper 01
  • topside creeper 02
  • topside creeper 03
  • topside creeper 04
  • topside creeper 05
  • topside creeper 06
Last edited by samparfitt

Programmed and tested my new Trackside Crane and Crane Sounds House. It was a frustrating experience until I remembered Sandjam's YouTube video. Watched it again to be reminded that, you cannot program it as an Accessory, the Cab2 key imagines are those of the TMCC Crane Car not as pictured in the manual, the rear light is only a lense with no bulb and there is no explanation about activating the magnet. Once I had that information it was a piece of cake. Not sure what makes it a Legacy Crane  

It is one cool accessory, just like my new Gantry Crane. 

Mike

EricBuzz posted:

Well, snow day here today. Fingers crossed my plow guy shows up because I didn't go outside

spent a couple of hours on my scratch built 4 stall engine house. It is pretty ambitious for my first build, but you gotta start somewhere.

Wow.. I thought we had a bad day here..  47*, sunny, but the wind was blowing 20 mph.. But alas, the wind is supposed to die down and be 75* on Saturday!!

Neel

Woodson Shops was refurbishing a couple cars today.. Added Kadees and changed out some trucks.. Have to wait for warmer temps to paint.. Next up is waiting on the 'Electronics guy' (me) to hook up Legacy.. 990 arrived last week and USPS delivered my Legacy Powermasters late this afternoon.. I guess I'll need to put my 9 yr old Grandson on the payroll to show me how to operate it!!

Neel

pennsynut posted:
EricBuzz posted:

Well, snow day here today. Fingers crossed my plow guy shows up because I didn't go outside

spent a couple of hours on my scratch built 4 stall engine house. It is pretty ambitious for my first build, but you gotta start somewhere.

Sure like to see a photo of it.

When I get a bit further along... Still kind of shy

Continued work on the freight platform. Added some gravel around my streets. Painted the board before the freight platform is installed, ballast is next. I will post some more pix soon. Debating between paint or a dark stain for the platforms. I am leaning toward the stain because I want the wood grain to show through. Any opinions/ advice welcome.

Oh- shoveled 14" of snow.....twice..... on two houses ( In-laws are down the street). I was just putting the snowblower away when the town plows came through again and buried the driveway and sidewalk.

Bob

Big_Boy_4005 posted:

Great day working on railroad! I have a new helper!

Saturday I installed the ledge cleats to the walls, so the counter tops could be fastened to it. Our first task of the day was to add two support brackets, which we lag bolted to the studs.

IMG_7283

Here's the left section loosely set in place.

IMG_7284

This is Scott (forum name Miggy) already laying down on the job. He fits right in. I have a knack for capturing my helpers in compromising positions.

IMG_7286

Actually, what he was doing down there was attaching the clamps to the seam.

IMG_7285

Using an Allen wrench, he tightened the clamps, pulling the two pieces together.

IMG_7287

Nature abhors a vacuum. Corollary: new counter space must be filled. In reality I set Scott up to start a project of his own.

IMG_7292

He added lead wires to all of the uncoupler magnets, as the first phase of the installation process.

IMG_7288

While he was working on that, I was busy marking exact locations for magnet placement over at Hiawatha. I added some glue to the two ties that had to be cut to make room for the coil.

IMG_7291

I installed most of the magnets over at Red Wing many years ago. The worst part of that process was cutting the ties. Thanks to modern technology, there is a new tool that makes quick, clean work of that task.

IMG_7290

Here we see the ties cut and the rail segment rough cut. I still need to get the Dremel and clean up the ends. Once that is done, I need to drill a hole for the wire, add GarGraves pins to both rail ends and drop in the magnet, crimping the rail over the pins. Then simply repeat 70 more times.

IMG_7289

Elliot. the dispatcher corner has turned out nice.  As with the rest of the recently completed work.  Of course I cant believe you are allowing helpers to laydown on the Job. Then again with all the recent work being done taking a 30 sec nap under the guise of working under the layout is an old army trick.     

Add Reply

Post

OGR Publishing, Inc., 1310 Eastside Centre Ct, Ste 6, Mountain Home, AR 72653
800-980-OGRR (6477)
www.ogaugerr.com

×
×
×
×
Link copied to your clipboard.
×
×