I decided to put my modeling skills to use.  I decided to try to model a scale 4-4-0.

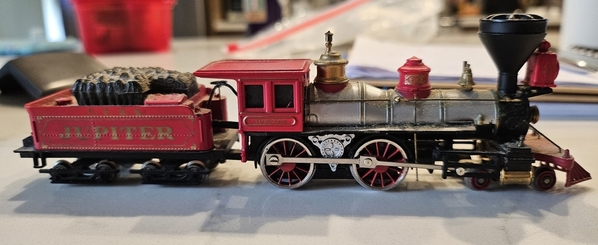
I'm using the dimensions of a Bachmann 4-4-0 which is pretty close to scale - I measured the drive wheels and they matched a drawing I found of the same vintage engine.

I plan to kit-bash the frame of an MTH Railking 2-8-0 cutting up and repositioning the wheels as the wheels are pretty close to what I need (16mm HO = 29mm O) and the 2-8-0 ~30mm or so).  It will take some time to figure out how to do this, but there will be some cutting involved.

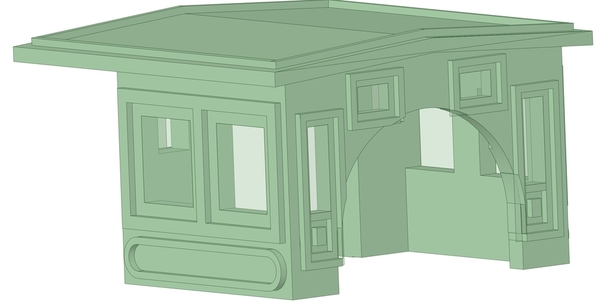
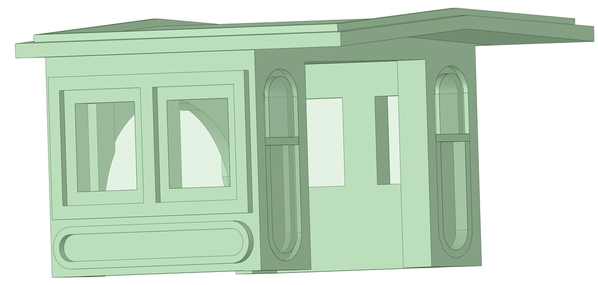
I just finished the Cab which took about 4 hours to do.

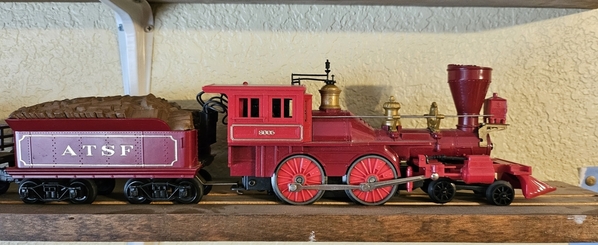
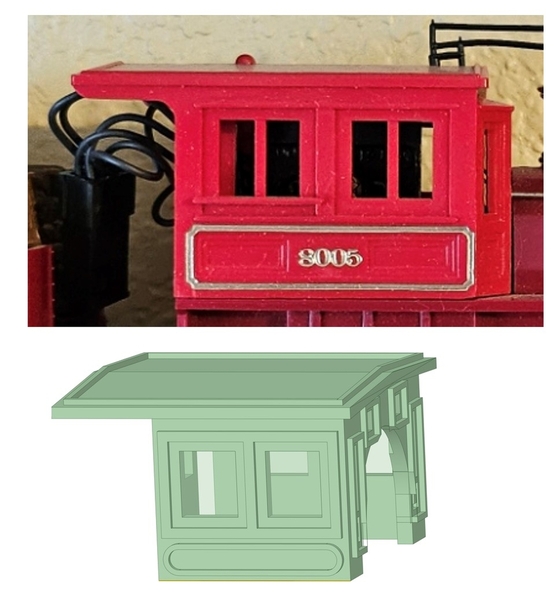
So here is what I'm basing the engine off of:

HO

Here is the equivalent not-scale Lionel version:

Lionel

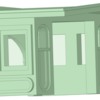
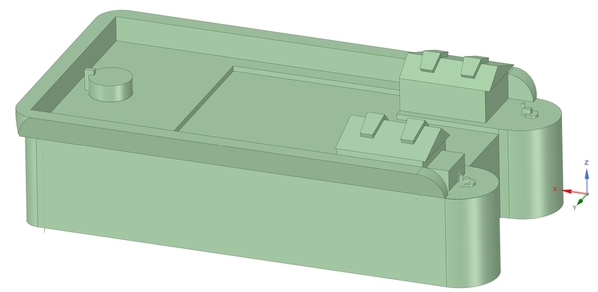
Here are the pictures of the completed model of the cab:

Cab 01Cab 02

Here is a loose comparison.  The Lionel Cab is 55mm long and the one above is 35mm.

Compare

This will be a slow process, but I will keep y'all up to date.  I plan to do the tender next as it will be pretty easy all things considered.

I'll keep everyone updated as I keep getting parts designed/modeled.  Once I finish, I will package up the model .stl files so they can be put in the modeling section of the forum.

Attachments

Images (5)
  • HO
  • Lionel
  • Cab 01
  • Cab 02
  • Compare
Last edited by C&O Allan
Original Post

Replies sorted oldest to newest

Hey Bill,

Yeah, I looked last night and I don't think the frame is possible because the motor won't fit.  Now I'm looking at getting an inspection care or a ballast tamper and using it as it is so small but the wheelbase should be close so I can swap the wheels (yes, I know the axel is too small for the wheels so I'll need to work on that too).

Will,

That is something that crossed my mind, but I would then lose the tender trucks that I'm looking forward to having.  I did find out the wheel spread on the engine is exactly the same as the ballast tamper/post-war gang car, so I'll be looking at my options there.

Also, once done, from the cowcatcher to the end of the tender (excluding the coupler) the length will be around 1 ft long, so pretty small as expected.

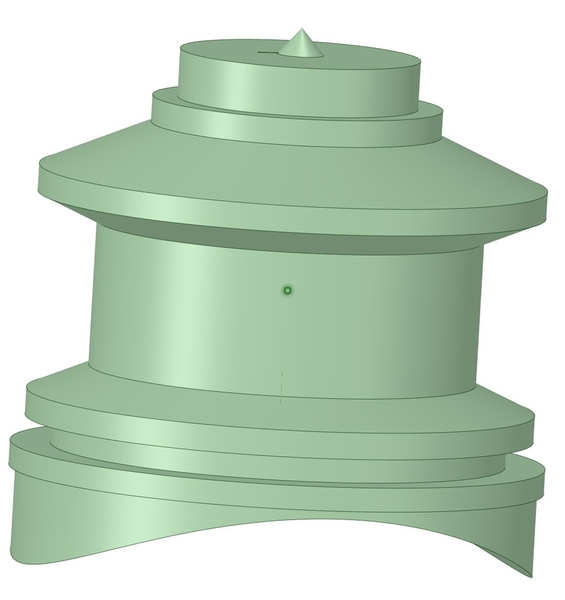
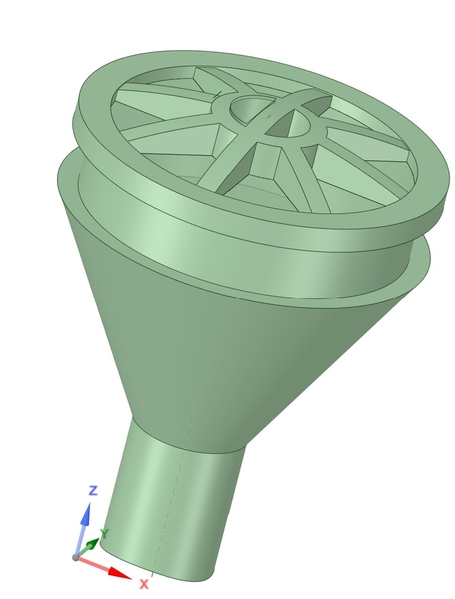
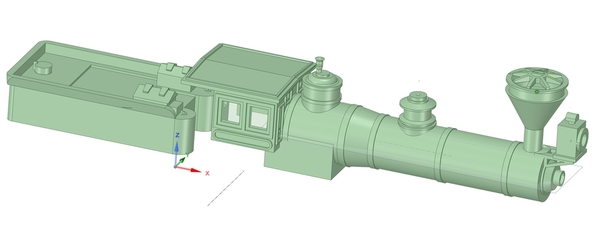
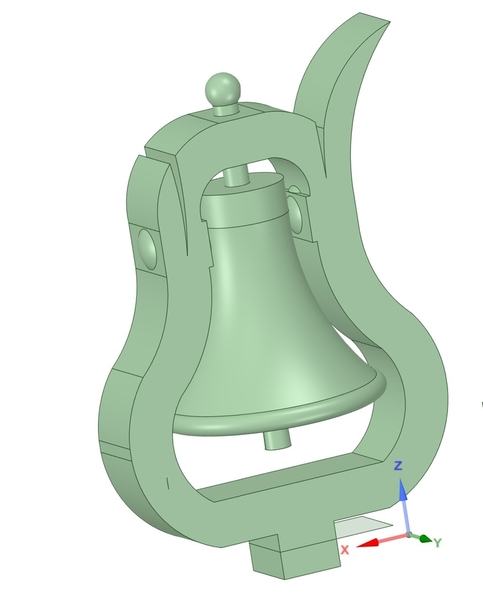
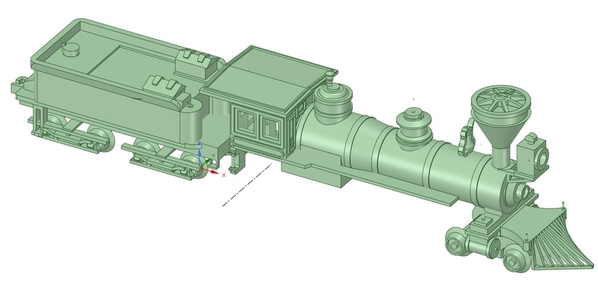
So here are the updates the last two days.  I've gotten a lot done on the top side.  But one thing I found was I messed up the Boiler, so I had to fix that.  I added the Sand Dome, the Steam Dome, the Headlight, and the Smokestack.  All I have left up there in terms of big items is the Bell which I will try to get done tomorrow.

Here are the pictures:

LanternSand DomeSmoke StackSteam Dome

Here they are combined:

Combined 01

Attachments

Images (5)
  • Lantern
  • Sand Dome
  • Smoke Stack
  • Steam Dome
  • Combined 01
Last edited by C&O Allan

Allan looks really good; the wagon top boiler is a challenge to model and it will be interesting to see that 3D printing can do with it. If you are interested in doing more with this in the future I'd strongly recommend getting a copy of Civil War Railroads and Models by Edwin P. Alexander as it is full of plans for locomotives and tenders in 1/4 inch scale plus has passenger and freight car plans as well. It would be easier than trying to upscale an HO model and copies can be found for less than $20 on the big auction site.

Ted in the land of otters

It won't be hard to print the boiler.  I will do it standing up from the back to the front.  It is only 6.2 inches and my printer goes to 7.

As for the power, the Lionel Trolley has the exact correct wheelbase that I'm looking for.  I was able to find one without the shell, so once I get it, I will modify the trolley frame and then modify the boiler to fit. 

I have Alexander’s book in storage.  As I recall he advocated for 19th century railroads in O scale because of their small size.  Whether Civil War era locos and cars are appropriate for what you are going for I will leave to you Allan.  One book I have that is great for the flavor of the era, if you can get it cheap, Is George Abdill’s “This Was Railroading”.  Its focus is on 19th century roads in the Pacific Northwest.

Bill,

Thanks for the books - I may have to get one.

To be honest, I'm doing this for fun. The topic started about no scale 4-4-0 around, so I figured I would try making the parts of one just to see if I could. I do plan on printing it out to see it for real.

Overall, modeling this is just a way to learn more about the software I've been using for other designs and it's capabilities. It is a free program, but it really has everything I need.

Last edited by C&O Allan

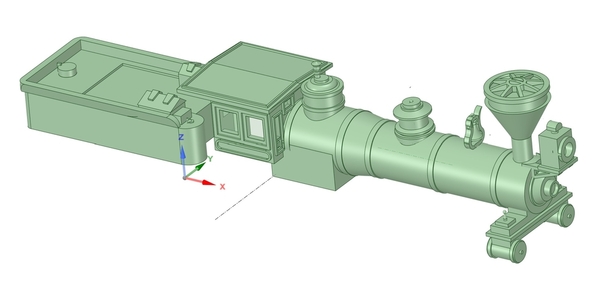
Here is today's update.  With MS having issues today, I had a fair amount of time to work on the model.

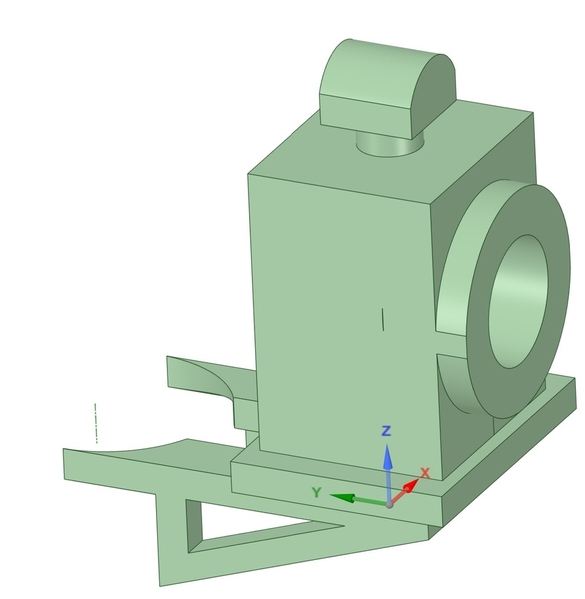
I did the Tender Frame, the Detail under the Cab (at the back going down), and the Front Truck.  I'm using a Lionel 2055 front truck, so I took the dimensions for that with the change of shrinking the length to fit the model.  I'll be using the same wheels for the Tender trucks as they are the correct size.

Not shown is that I added a hole going through the boiler for the light wires.

On another note, I received my Lionel Trolley frame (motor/wheels) and it is small enough to fit in the boiler.  So I'll model it after I change the wheels out to the scale ones so I can insert it.  I'll probably do the tender trucks first though.

On to the pictures:

Cab DetailFront TruckTender Frame

Combined 07 BackCombined 07

Everyone have a great weekend!

- Allan


TCA # 09-64278

Tinplate Trackers of Austin, Texas

https://www.austintinplatetrackers.com/


Attachments

Hide

Attachments

Images (5)
  • Cab Detail
  • Front Truck
  • Tender Frame
  • Combined 07 Back
  • Combined 07
Last edited by C&O Allan

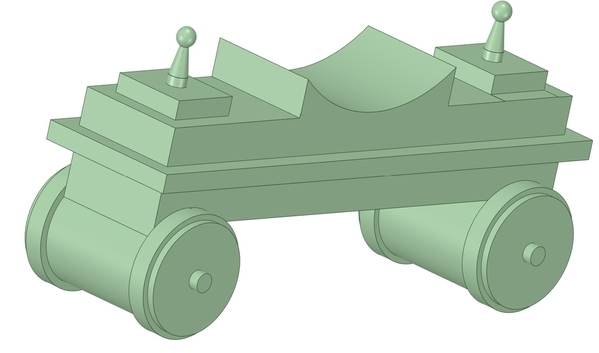
I got a lot of work done today.  I modeled the Tender Trucks, so the Tender is done.  I don't know about the height of the coupler yet, so I will figure that out in the final design.

Tomorrow if I have time, I'll work on swapping the wheels on the Drivers - I'll take pictures of the progress.

Here are the updated pictures:

Tender Truck Front
Tender Truck Rear
Combined 08 SideCombined 08

Attachments

Images (4)
  • Tender Truck Front
  • Tender Truck Rear
  • Combined 08 Side
  • Combined 08
Last edited by C&O Allan

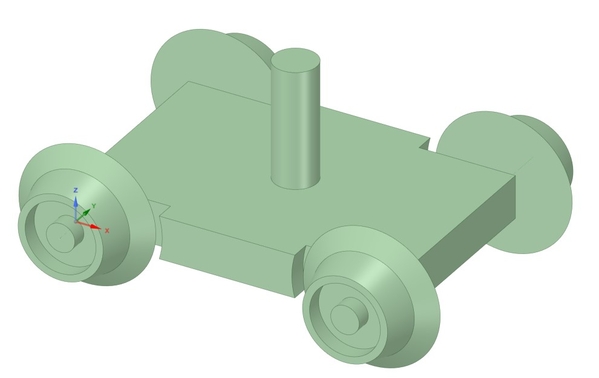
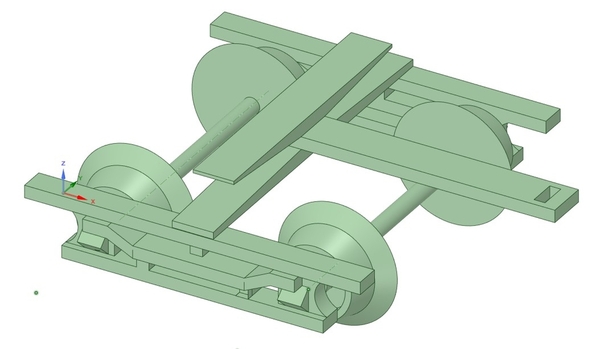
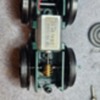
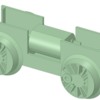
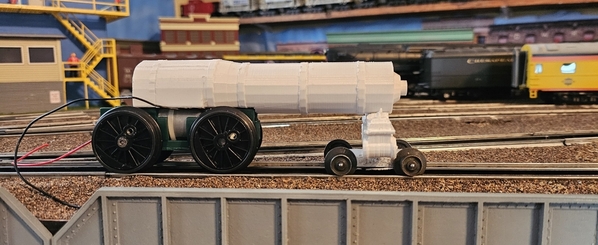
To update everyone, I finished the main drivers this past weekend.  This includes modifying the Lionel Trolly to have the scale wheels and then modeling that inserting it into the overall model.

The getting the wheels on took a lot of trial and error, but I'm happy with the results.

First, I stripped the trolley and prepared it for the new wheels (sorry for the pictures in portrait mode):

20240721_150647

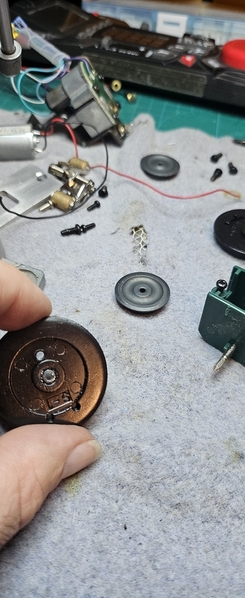
I then installed the non-motored wheels by drilling out the existing axle holes to a size that will let me use the standard axle from the donor engine:
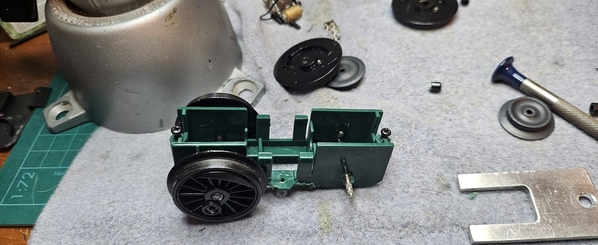
20240721_163813

When I drilled out the holes, I had to get rid of the spacers to keep the wheels in line.  I used a couple of washers on each side to space them correctly to remove the sway.

Now on to the powered driver - this one was much more difficult because I had to use the existing axle as it had the gear on it.

What I decided to do was to cut the correct sized axle and then to drill the correct size in it for the trolley axle.  The sized needed was 3/32.  The two problems I had were centering the hole and not breaking the drill bit (I only went through 2).  To center the hole, I inserted the big axle a little way into the wheel and then used the largest bit I could fit to drill just enough to give me an indentation to use the small bit.

Then I drilled the hole with the 3/32 bit.
20240721_15065420240721_15065820240721_173540

Then I pressed them on.  This is the delicate process because the small axle does bend (mine did).  Once on, I did my best to get rid of the wobble and I was able to enough for my satisfaction.  I also made sure both sets were quartered the same direction.

20240721_202913

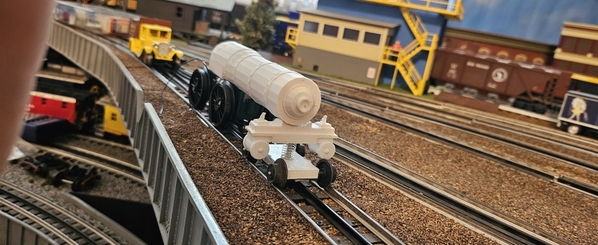
I made sure to test it with the motor out.  I did this by checking the width with the U-tool in several of the pictures above.  Then I put it on a part of the layout with a ramp letting it run free down the ramp into a Ross 4-Way Yard Switch doing an "s" curve into one of the middle tracks.  It ran smooth and stayed on the track.

I know the model I based this on has a smaller counter weighted driver wheel, but I'm fine with mine having it larger - it would be too hard to get make them smaller using a Dremel...

Once tested, I put in the motor (you can kinda see the washer spacers in the top set of drive wheels):

20240721_203932

Lastly, I tested it using an HO Transformer and it ran great, so I was ready to model it and put it on the combined view.


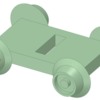
Drive Wheels with Motor
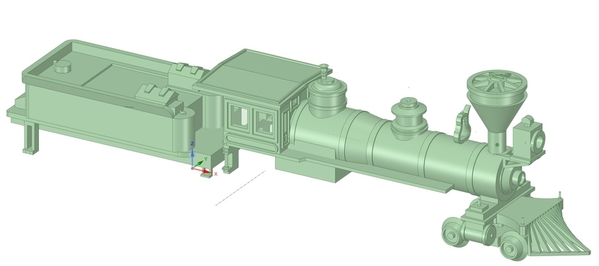
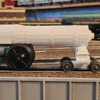
Combined 09

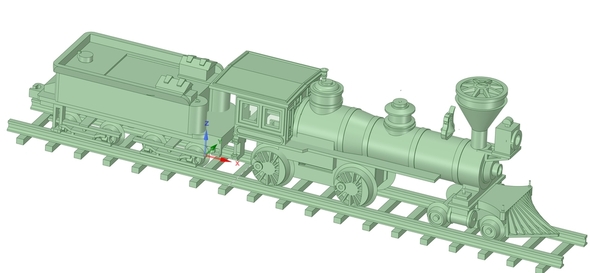
I also modeled a piece of track for perspective.  The track above is 15" long, so this is a small engine (as I expected).

I won't do much the rest of the week as I'm going out of town, but the next steps are the rods, finishing the frame, and adjusting the boiler for the drive wheels to fit without overlapping.

So almost there!!

Attachments

Images (10)
  • 20240721_150647
  • 20240721_163813
  • 20240721_150654
  • 20240721_150658
  • 20240721_173540
  • 20240721_202913
  • 20240721_203932
  • 20240721_203932
  • Drive Wheels with Motor
  • Combined 09
Last edited by C&O Allan

Here is this weekend's update.

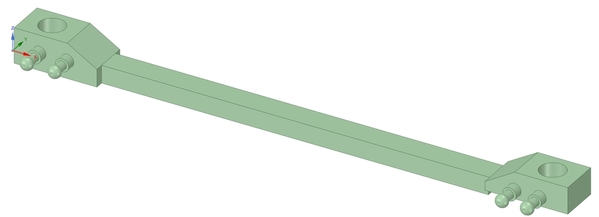
I completed the side rods - they are set for the main rod to be against the driver wheel as prototypical and not on the outside as on most others.

After I was done, I was going to design the main rod, but I noticed it looked like I was going to have interferences, so I decided to print out the boiler, the steam chest, and the front truck.  After printing them out, I found out that I had to make changes to the front truck.  I removed the frame extension between the wheels and changed the pin to a slot.  I also narrowed it so I could use the original 2055 lead struck (shortened) to fit around it.

The pictures below are of the original print, so I'm not able to test run it (using a DC transformer).

As for the print, it took ~11 hours to do the boiler, 3 for the steam chest, and 2 for the front truck.  These were on the highest setting, so it will go faster if it is done on the low or medium speed.

Unfortunately, my printer doesn't know how to print circles (I guess), so I will be using the thinnest styrene to smooth out the boiler.  I will also be removing the detail on the steam check and make those by hand.

Lastly, I plan to use a Lionel RCDR / RADIO RECEIVER / INSPECTION VEHICLE - 691RCDR109 board to add TMCC to the engine since it has a pretty small motor.

RCDR

I hope you like everything. 

Updated Truck:

Front Truck 02

Side Rods:

Side Rod LeftSide Rod Right

Combined front truckMockup 01Mockup 02

Attachments

Images (7)
  • RCDR
  • Front Truck 02
  • Side Rod Left
  • Side Rod Right
  • Combined front truck
  • Mockup 01
  • Mockup 02
Last edited by C&O Allan

I'm having a blast with this.  I'm almost to the point that I can test the engine with an HO powerpack with all wheels attached.  I'm going to try to do that tomorrow.

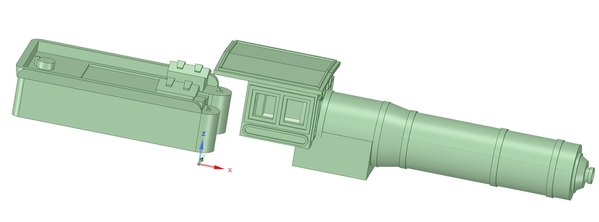
The main thing I'm working on now is figuring how to break up the models for printing.  There is no way I can get the cab to print cleanly being the shape it is.  I'll be doing the tender trucks first.  I hope to print them out tomorrow so I can get the tender together.

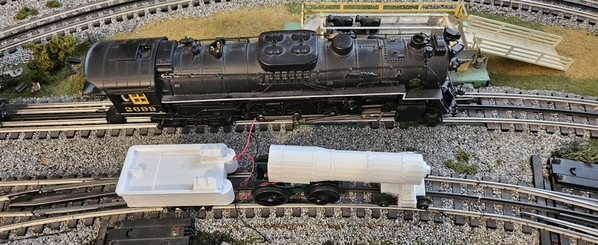
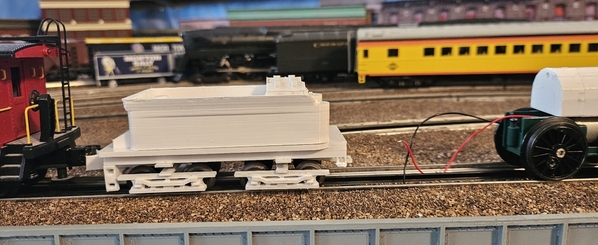
Speaking of the tender, I printed out the tender shell and did confirm the board above will fit with no issues. I did have an issue with one of the toolboxes not printing correctly, so I will try to fix that tomorrow.  I also did a comparison just so y'all can see the engine and tender together (tender trucks not printed yet).  Behind the 4-4-0 is a scale Lionel Berkshire (just the engine) that is the same size as 765.  You can see that the 4-4-0 is way smaller than the engine...


20240731_18424020240731_184245

Attachments

Images (2)
  • 20240731_184240
  • 20240731_184245
Last edited by C&O Allan

Here is today's update.

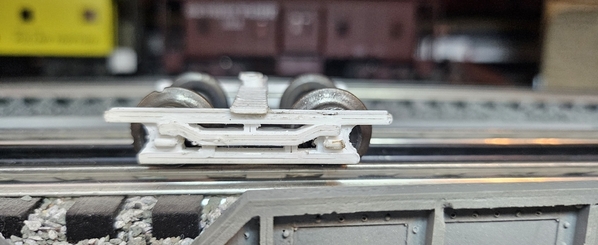
I continued on breaking up the parts for printing.  Today I printed the parts for the trucks.  Here is what it looks like with the 2055 lead truck wheels which are the correct size.  I'm going to add additional cross braces to strengthen it so the wheels don't pop out.  I'll do that with styrene rather than modeling/printing.

20240801_16585720240801_165909

Attachments

Images (2)
  • 20240801_165857
  • 20240801_165909
Last edited by C&O Allan

It's been a great weekend.  Since I got the trucks done, I decided to finish the tender, which I did.

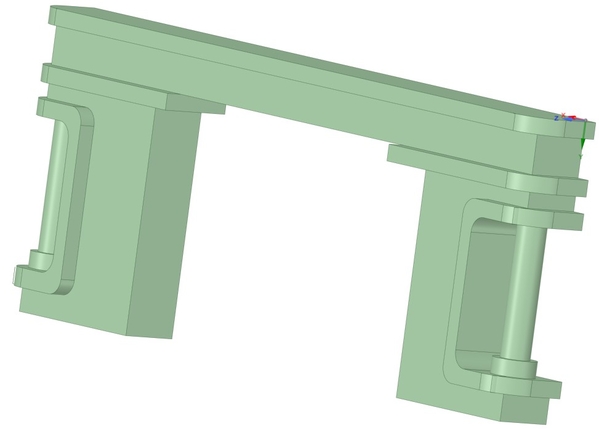
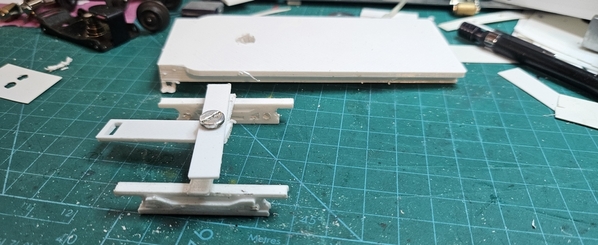
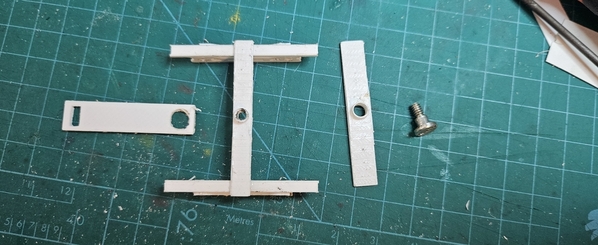
I figured out how to break up the bolsters on the trucks to mount them to the frame.  On the pictures before, I had an upper and lower bolster.  I made the lower with a small collar that slides into the upper one.  I then used a collared screw that came with my 2055 trucks.  In between, I put either the drawbar or the coupler.  To see this:

20240802_17532020240802_175402

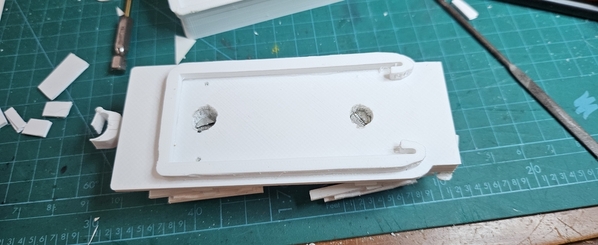
I then mounted the upper to the frame and drilled through the frame so the screws would fit.  Notice in this picture I put an inner form that the shell fits around.  This way I don't have to permanently mount it with a screw/glue:

20240804_17142120240804_171510

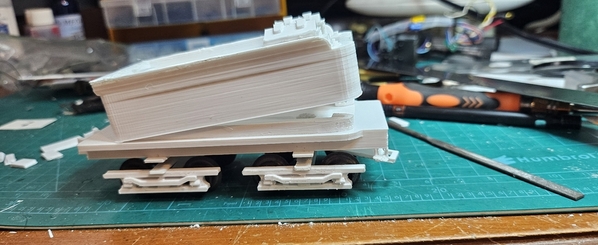
Here is the almost finished tender:

20240804_171524

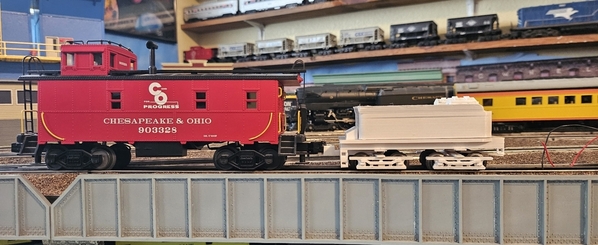
The last thing I needed to do is to put a cross member to keep the rear coupler up at the correct height.  Here is where I added the rear steps (it is upside down in the picture):

Couple Base
20240804_17441920240804_174424

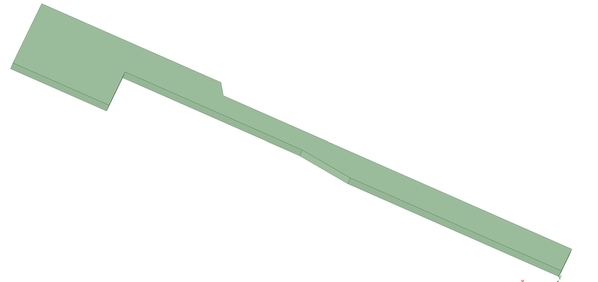
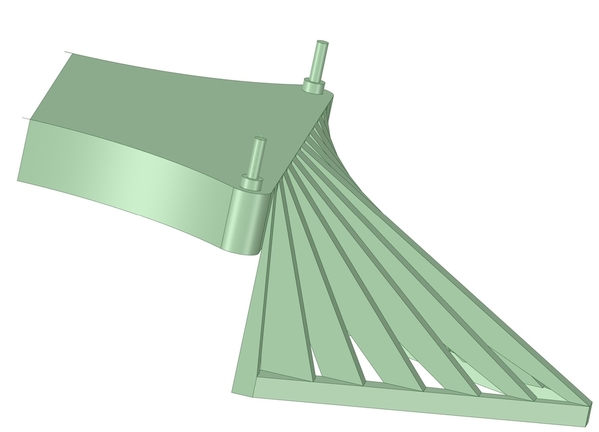
Lastly, I broke up the cab so I can print out the 5 parts which I did tonight.  I have to clean them up, so I hope to finish that tomorrow.  After that, I won't get much more done as we have family coming into town.  But I'm happy where it is so far.

Cab Expanded


Attachments

Images (8)
  • 20240802_175320
  • 20240802_175402
  • 20240804_171421
  • 20240804_171510
  • Couple Base
  • 20240804_174419
  • 20240804_174424
  • Cab Expanded
Last edited by C&O Allan


This will be a slow process, but I will keep y'all up to date.  I plan to do the tender next as it will be pretty easy all things considered.

I'll keep everyone updated as I keep getting parts designed/modeled.  Once I finish, I will package up the model .stl files so they can be put in the modeling section of the forum.

Fantastic……the complete posting is great…….well done.

Last edited by OGR CEO-PUBLISHER
@C&O Allan posted:

I can see them, but probably because I loaded them.

I will create a reply later today with all the pictures again. I'll do them in the same order before but they will just not Jake the text (if that is ok). I want y'all to be able to find them and I can add the text if y'all want.

Why not keep it in context and just edit your prior posts with the photos?

Add Reply

Post

OGR Publishing, Inc., 1310 Eastside Centre Ct, Ste 6, Mountain Home, AR 72653
800-980-OGRR (6477)
www.ogaugerr.com

×
×
×
×
Link copied to your clipboard.
×
×