Alan, unfortunately, I'm not a digital subscriber, so PM's are not available to me. I sent an email to 285alan@gmail.com, which is the email in your profile. Is that correct?
----I have been a Postal worker for almost 30 years. Coach Joe is correct here with the exception that the locked door on the green box was on the front not on the side. Sometimes the green boxes were right next to a blue box and sometimes they were placed by themselves.
I just scaled the box at the entrance to my office. The box door is in front.
OK I'll look.
@Hudson J1e posted:I have been a Postal worker for almost 30 years.
Phil, not wishing to derail this thread, but for a 1960's mailbox, would you say this is a reasonably correct color scheme?
Attachments
Joe, yes I would say that is a reasonably correct color scheme. I started as a temp with the Postal Service in 1989 and I was born in 1965 so I really don't remember what they looked like in the '60s. I tried doing some research on it for you but I came up with the same picture you posted above. The few pictures I saw on the net had the red paint stopping higher than the one in that picture. The red seems to usually stop just below the flap where you put the mail in. I don't know if this was a hard and fast rule. There could have been exceptions. Sorry I couldn't be more help.
Thanks. 🙂
Prior to 1955 most mailboxes were olive drab (green) left over from WW2. In 1955 the Post Office Department had a patriotic thing going and painted them red,white and blue. When these needed to be repainted they used just blue.
Attachments
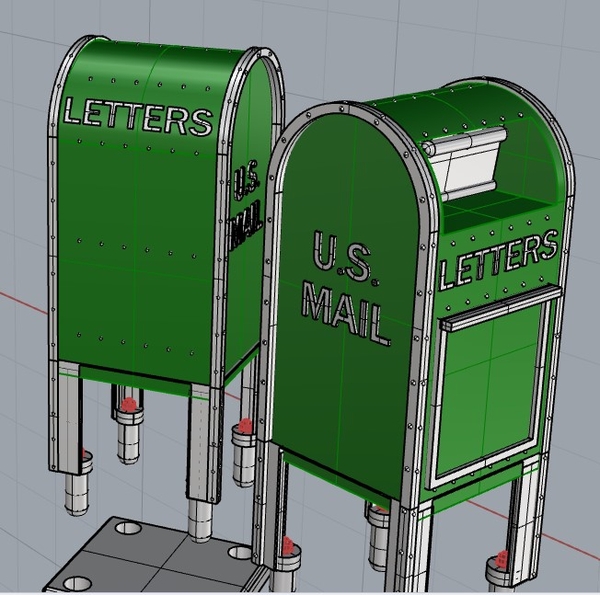
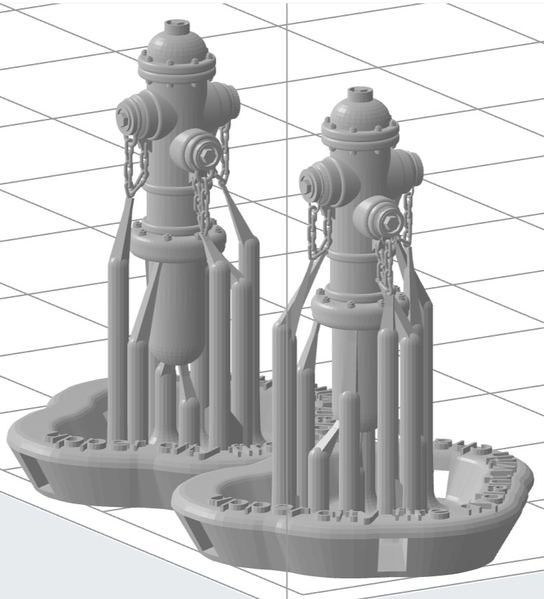
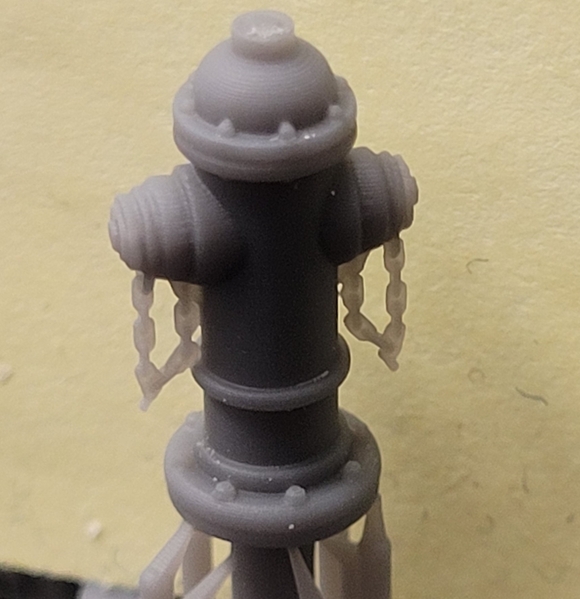
Alan, just got my mailboxes. Beautiful work. Minute, sharp detail. It will be a challenge to paint them in a way that does them justice, but I will try. And the fire hydrant cap retaining chains amazed me. Thanks very much.
Attachments
This is a picture of the arch supports that support the upper city.
Originally, I was planning on laser cutting this as you see below.
I still am but I want to add some detail to the stone archways. The stones (195) would be 3D printed and slipped around the laser cut model where the stones are shown.
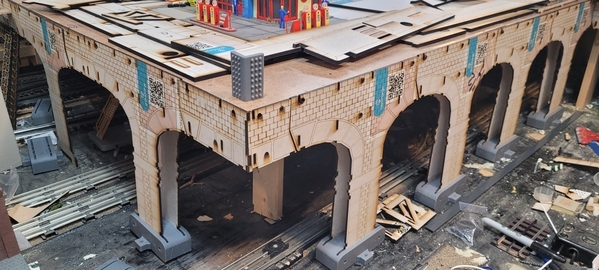
So I took the 2D arch file and imported the 2D archways into Rhino 7 my 3D surface modeler. But the stones obtained this way would be laser resin printed with flat surfaces, very un-stone like.
Now Rhino 7 has an automated modeling feature called Grasshopper. I should use Grasshopper more 3D modeling. It's a parametric modeling method that allows changing the model design by using numerical sliders to vary the model's parameters.
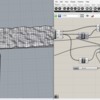
So getting back to the stones. I wanted to have each stone have a random unique pattern instead of a flat face. So I found a YOU-Tube video that demonstrated how to create random surface patterns with Grasshopper. The Grasshopper modeler for this is on the right side.
On the left, you see two patterns I created that I am testing. One subtle pattern and another with greater intensity. I merely cutout the shape of the stone's face in the pattern and move the cutout to the stone surface. Then I 3D print the stone with the pattern.
Grasshopper lets me vary the intensity with just a numerical slider. A slider varies the pattern.
when completed I will have 192 stones with unique patterns to slide onto my 2D laser cut arches.
Attachments
closer view: note the randomizer plug-in on the left side that creates a random stone surface.
I'm using Grasshopper because I want a random pattern to attach to the stone faces.
Creating a regular pattern would be easier since it is just a series of equally spaced duplicates.
However, I should be using Grasshopper to do that too, so I can easily vary the duplicates.
Attachments
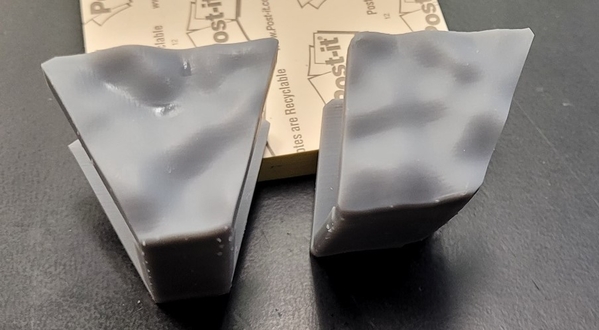
this is 3D printed key stone and next stone with a random stone surface.
for each of the 8 arch supports there is one key stone and 18 smaller stones.
I intent to print each stone with a different stone surface.
next will be the 3D prints of the bricks.
Attachments
Alan, that 3D printing is unbelievable. Hats off to you for figuring out the process for printing. Way way over my head. Keep the pictures coming.
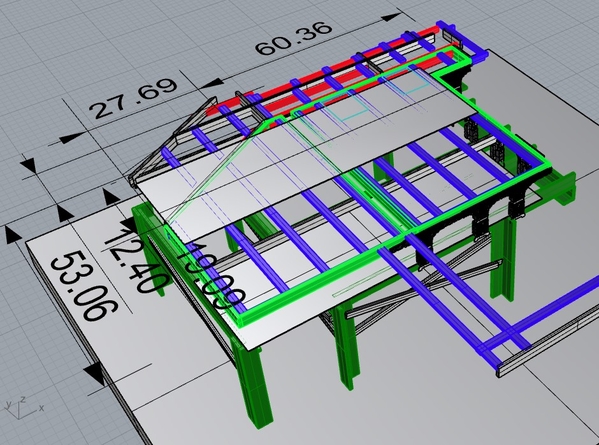
The lastest city in a 3D representation. I started with a Plasticville city that grew with the Woodlan Scenics and Menards buildings.
So I removed the entire wood structure supporting my earlier city; It was a series of wood addons and additions.
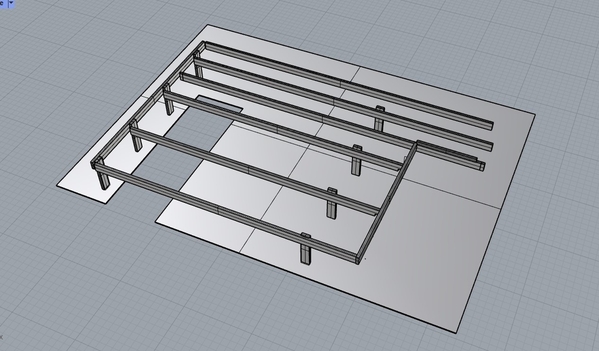
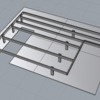
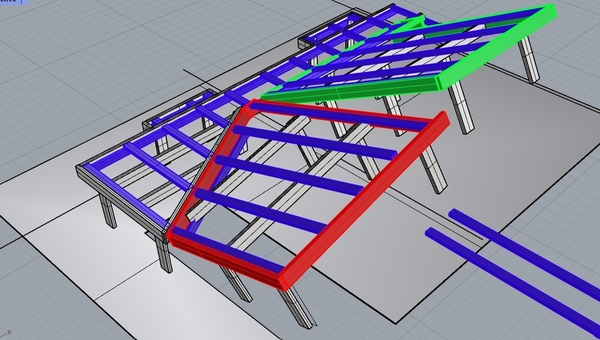
Used my 3D modeling program (Rhino7) I created the wood structure in 3D; This allows me to see the issues before I cut,
The interior 1x 3 girders are lowered to accommodate the 1x2 transverse beams. on the right side 2 of the interior girders are dapped to fit the arch structures shown below.
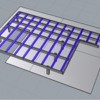
Transverse 1 x 2s attached to the 1x3s
Next the 1/8" Masonite panels
Once the Masonite is fitted, I will add the laser cut streets and sidewalks. Note the grid shown in red, each laser cut fits the grid.
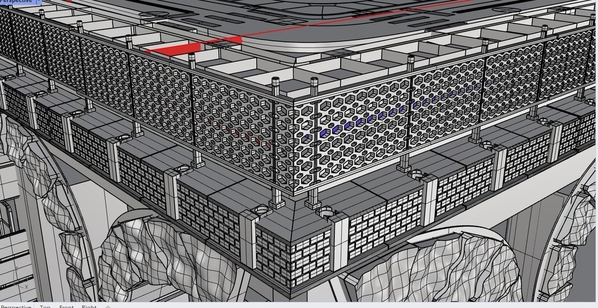
Next the 3D printed stone arches and laser cut lattice truss will be attached to the edge 1x3s
Finally the edge fencing; All of these pieces have been 3D printed.
the finials on top of each fence post is not shown nor the globe lighting around the edge.
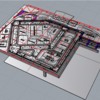
There was a highway(purple) in my last city that I will incorporate into the new upper city shown with ramping in the first image above.
the Woodland Scenics and Menards building will be added and lights connected.
I will be cutting in grooves to certain streets for the AutomotionFX wires and of course wiring streetlights and traffic signals.
Whew!
Attachments
This is impressive that you have done it in CAD. I don't know much about Rhino but it sure seems powerful!
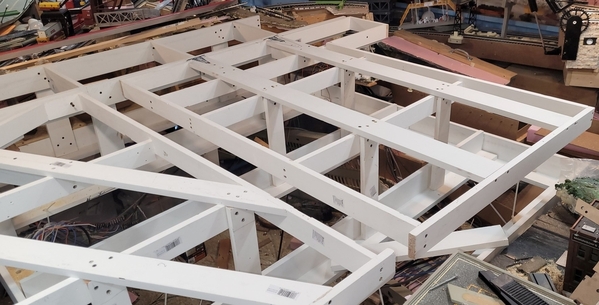
finally finished the framing for the city.
the prior location was found to be way too uneven for a laser cut city. So I removed that portion of the layout and reframed the area for the city.
added lift -up sections.
small modification from the design.
once I add in the 1x2s, I can next attach the Masonite sheeting.
the laser cut city sidewalks and streets will be attached on top.
Attachments
That's awesome! I threw in the towel on this level of design but this makes me wish I had gone through with it.
@AlanRail.....Wonderful design work and construction. A pure example of planning and execution. Thanks for sharing!
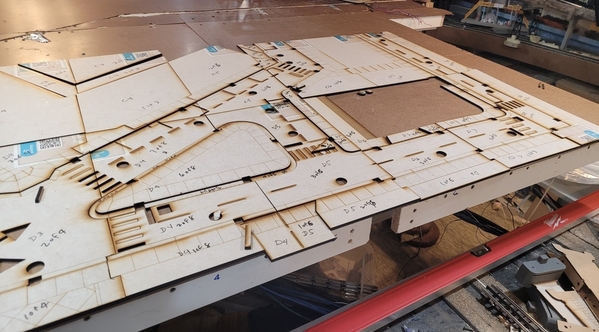
SOOO AFTER A YEAR I finally was able to get back to the Upper City. Note the Masonite has been attached to the beams above.
here are some photos of the unpainted city laser cut streets and sidewalks in place. Just the first two rows.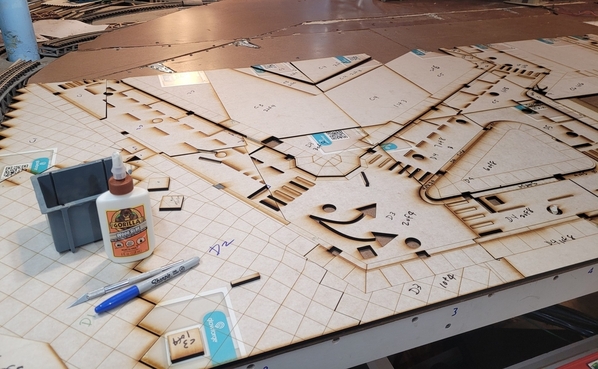
the sidewalks are 1/8" (6" scale) higher than the streets. the curbs will be routed to match the curve of the sewers.
by raising the sidewalks up I have space beneath for the street light and stop light wiring. Note holes for round sewers and square for electrical manholes. The underside of the roadways will be routed for the iron wire to guide the Automation vehicles. All of the street markings will be filled with laser cut white and yellow acrylic.
Sidewalks and streets to be painted as well.
Attachments
@Jan posted:I remember in the 50s that all mailboxes were a forest green with two different types of freestanding boxes. The ones without the deposit flap were for the delivery man to refill his bag/cart. There were also small boxes which where hung from utility poles.
Jan
Seems I recall the lettering being a dark gold color until about 1960 or so. It was white for a spell, too.
Alan, this is very fascinating! We haven't talked about this for quite awhile and these are the first pictures that I have seen. I'm anxious to see the next steps in this project. Obviously you have given a lot of thought to this.
Art
@AlanRail, your work is amazing!
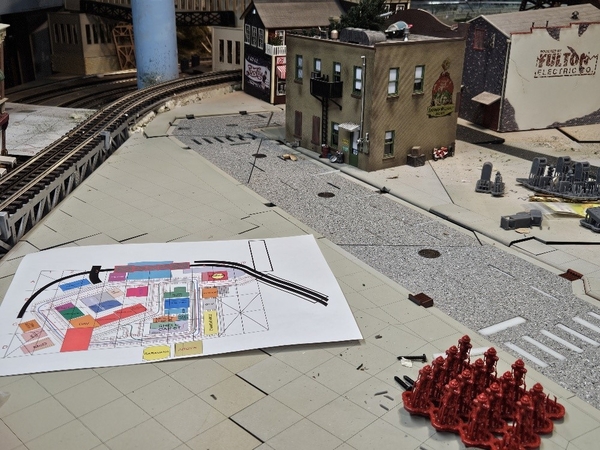
The city was just a series of computer images that I subsequently laser cut.
Until I completed the Masonite surface for the city, I did not have a way to layout the laser cuts and connect them.
Not surprisingly, after the initial layout I had to re-cut parts that did not fit.
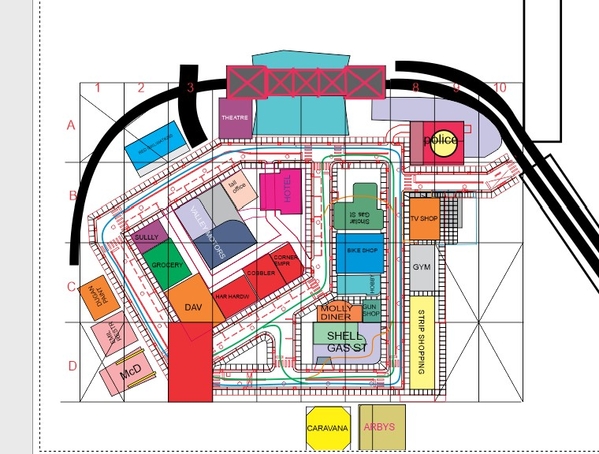
The entire city is a grid; left to right numbered 1-10 whereas up and down was A-D.
So each section was labeled A-3 to A-10; B -2 to B-10, etc;
The cut lines were governed by the max size I can laser cut and the streets; the surrounding surfaces for the sidewalks and buildings ended at the curbs. Over the last year, as you can see in earlier posts I 3D-printed mailboxes, fire hydrants, fencing, sewer covers, tree grating, traffic signals, streetlights, and stonework, etc.;
As well as, the arch supports and other bridge works.
I discovered I have an extra 7" at the right side. Good, because I want to add several newer Menards buildings along that edge.
Looks great Alan!
I needed a roadway from the upper level to the next level down about 2.5' DROP.
To do so, I needed to add a side road to my upper city. Since my entire city plan is computerized, it was easy to add the side road and laser cut the new sections.
As to the roadway, designed and am printing a 3D roadway to do so; the width is about 4.5 " for two-way traffic.
Attachments
Before the side road was inserted
using the computer-generated city plan I changed the computerized plan to include the side road then laser cut the sections that changed.
Attachments
The upper city curbs have now been routed to match curbs. Next step is painting the sidewalks, curbs and roads. Before the roads can be installed onto the upper city surface, I have to route the underside for the automotionfx magnetic wires.
As part of the highways on the upper city, I have need for a 12" high highway to connect up to the City.
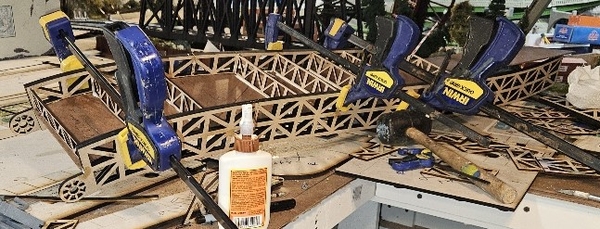
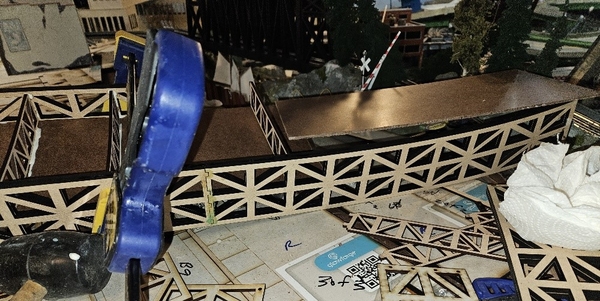
I wanted something a bit different from a straight linear bridge. So designed, on CorelDraw, a gradual sloped highway bridge.
After I laser cut the bridge halves, I will insert the 6-1/2" wide road and sidewalk into the slot between the upper and lower truss halves. The two side trusses are made of two similarly cut pieces: one with the roadway slot and one without. Both aligned and then glued together. The slot could have been made with a router but the much harder to cut the truss parts. With a laser cutter not much of a problem.
Attachments
Attachments
Beautiful work Alan.
John
@CHOO-CHOO MIKE posted:Prior to 1955 most mailboxes were olive drab (green) left over from WW2. In 1955 the Post Office Department had a patriotic thing going and painted them red,white and blue. When these needed to be repainted they used just blue.
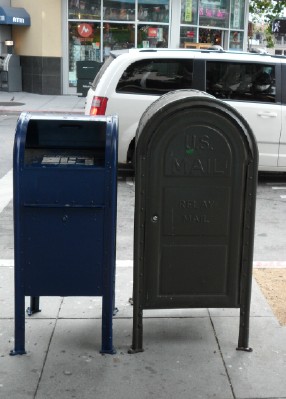
Is this what you're talking about (right)? Taken in San Francisco in 2010. I think they are called relay boxes.
George
Attachments
No, relay boxes are still out there panted olive green,
Prior to 1955 all boxes were paint olive green.
updated city model file for newest buildings. since the city model is in a computer file, just need to refine the model where the new buildings are located and laser cut the pieces to fit.
finished painting the sidewalks, street and alleys.
3D print of utility box cover for street lights.
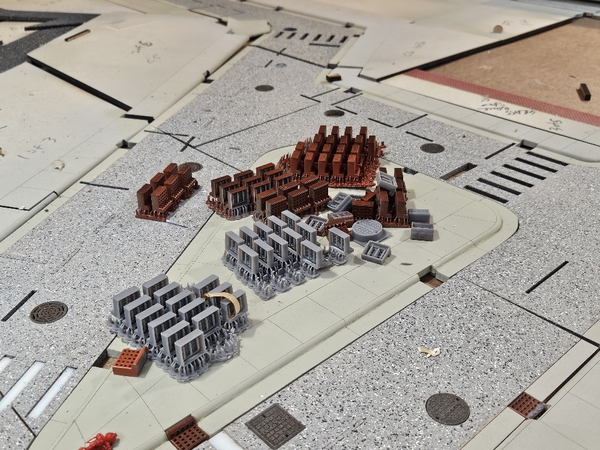
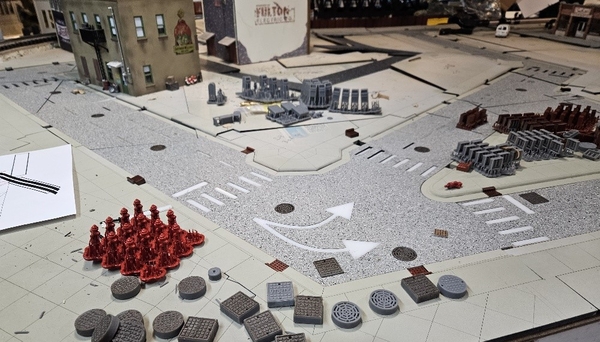
lots of storm sewer covers, mailboxes and fire plugs to insert
Attachments
Amazing work!
Peter
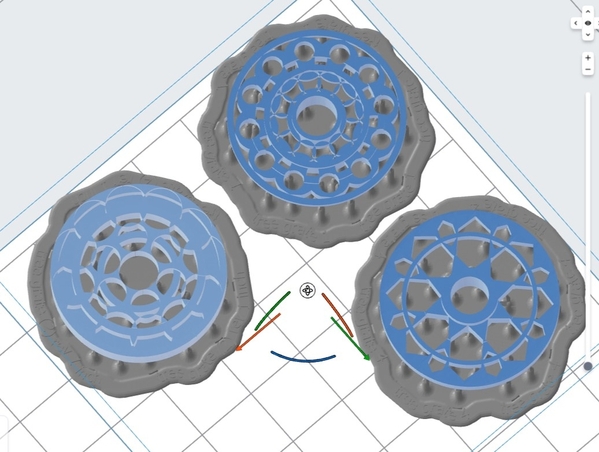
Now that I am getting into the remaining areas I will need tree grating.
there will be grass in the parkway around the perimeter of the city, adjacent to the sidewalks and other open spaces.
And the trees; I will be 3D printing the above tree grates (about 1" diameter) to insert into the grass to which the trees will be "planted."
Attachments
Looks great Alan
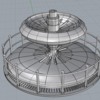
The center island shown above needed something;
... a fountain. the water will be simulated with clear fiber-optics strands.
Attachments
Looks fantastic! Great level of detail.
"by raising the sidewalks up I have space beneath for the street light and stop light wiring." If you want to get really crazy, make your manholes removable and run the wires through the associated manhole so you can access later...
routed out the pathway under the roads for the steel rods for the AutomotiveFX cars.
here is a section of 2-way traffic; note the printed fountain from above.

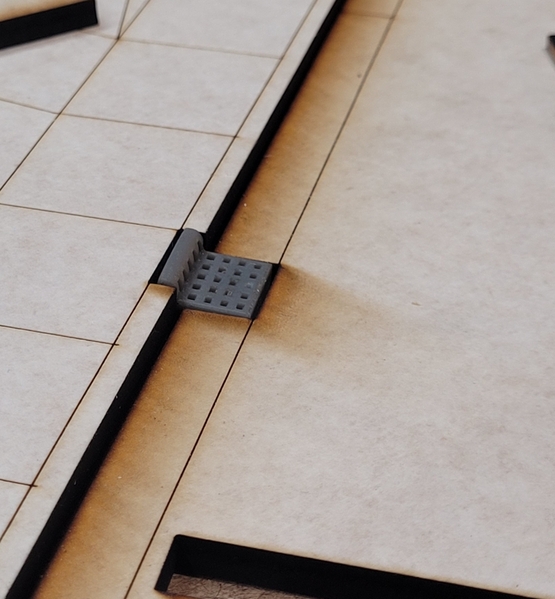
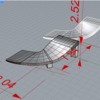
in order to fix the rods to the lowest level (actually closer to the run surface) , to glue in place, I 3D printed some tiny hold-downs that fit the 1/16" routed notches and push the rod down.
after the glue dries I remove the hold-downs.
For the road curves I have thinner rods.


