There’s always something to do and it’s good to renew your infrastructure. Looks good John.
Jay
|


|
There’s always something to do and it’s good to renew your infrastructure. Looks good John.
Jay
@RSJB18 posted:SWMBO!!!!!!!
I’ll bite: What’s SWMBO?
@ScoutingDad posted:Yep, used 4x hold hairspray to lay everything down. But I was having a steady stream of stuff falling off, even after tapping.
The Dremel is an interesting idea, but I think the problem is in the carver. If I was trying to model sandstone then maybe, but the facets present in hard rock is challenging to get right.
They don't make cheap hairspray like they used to, ScoutingDad, not for years now.
Nothing beated the old Dollar store spray - it was like lacquer! I miss it - it must have become obsolete when the stiff lady's hairstyles went away
@Tranquil Hollow RR posted:There’s always something to do and it’s good to renew your infrastructure. Looks good John.
Jay
Thanks Jay
To sum up last week……..the three days of rain forced me inside……
I finished three Ameritowne kits……I cheated a little because the fronts were painted in the late 90s when they were part of my 1993-2003 layout. I also reassembled a Korber building I had on that layout.
Then, worked on grade crossings, fencing and ballasting…….
Have a great and safe week, everyone.
Peter
@Putnam Division posted:To sum up last week……..the three days of rain forced me inside……
I finished three Ameritowne kits……I cheated a little because the fronts were painted in the late 90s when they were part of my 1993-2003 layout. I also reassembled a Korber building I had on that layout.
Then, worked on grade crossings, fencing and ballasting…….
Have a great and safe week, everyone.
Peter
The buildings and layout are looking great, Peter
Fantastic work, thanks for sharing
@RSJB18 posted:She Who Must Be Obeyed........
LOL!
Afternoon guys, look at that I leave for half a day and the page just keeps turning!
@Lionelski John, wonderful looking bridge! I am glad I have something to look forward to while working on my next layout as it will never be done! ![]() The CEO will be happy about that one! LOL
The CEO will be happy about that one! LOL
@Putnam Division Peter its not cheating if you have already started it! It just took you awhile to finish them! Either way they look great and the layout is really coming along!
@Mikki Mikki not to be one to stir the pot. but if you run it threw the wall threw the room whats on the other side of the next wall? Maybe room for a reversing loop! LOL![]()
I hope you all have a great week and find time to have fun with your layouts and trains!![]()
@ScoutingDad posted:Yep, used 4x hold hairspray to lay everything down. But I was having a steady stream of stuff falling off, even after tapping.
The Dremel is an interesting idea, but I think the problem is in the carver. If I was trying to model sandstone then maybe, but the facets present in hard rock is challenging to get right.
I tried carving foam as well, not with a Dremel, though. I also tried carving plaster, maybe Hydrocal I don’t remember. Something is lost between the brain to eye to hand with many things like that. I think the WS molds is the way I will try again as well.
@Tranquil Hollow RR posted:I’ll bite: What’s SWMBO?
Whenever you run into an acronym you don't know, just type it into a search engine. ![]()
Working on fixing a short on the outer loop. Trains were running great then not so much. Instant trip when powering up layout even after removing all equipment from tracks. Did some continuity testing and had continuity between hot and ground everywhere I tested on the outer loop. Rechecked all connections to track and narrowed the issue down to where all my feeders connect to the wiring from the transformer. Going to start the process of reconnecting each feeder and checking to make sure there is no continuity between hot and ground.
@Mark Boyce posted:I tried carving foam as well, not with a Dremel, though. I also tried carving plaster, maybe Hydrocal I don’t remember. Something is lost between the brain to eye to hand with many things like that. I think the WS molds is the way I will try again as well.
And here I find carving into foam and making stone or brick walls to be therapeutic, no Dremel here either. I even make rocks with leftover pieces. Wiring on the other hand......
I have a stone arch bridge which they actually refer to as a tunnel to make next. My issue is that I might not have left enough space (width) to do it proper justice. The prototype is extremely old and is used to carry cars over the rr rather than the other way around. Supposedly, one of the first in the country, the tracks are where the John Bull took its first ride. They were supposed to tear it down but enough protest over the historical value has saved it! Here is a pic of it.
Mikki
Found the problem, one feeder and the single piece of track were still showing continuity between hot and ground. Tracked the feeder along the layout and found a spot where it was "stuck" Some dummy put a screw right through the middle of the wire hole in the support when attaching the plywood road base.
Been that way for months.
Screw has been moved and wires fixed. Time to reassemble the loop.
Definitely would not have tracked this down without the continuity meter.
Today I finished removing old scenery base one table. On the other 1/2 I did the same on a section where the track and downtown street will turn to get to the new section.
@Dave Ripp. Wow, I know that it is exciting to be adding on, but it has to be difficult tearing out your work.
Mikki
Mikki, it was only difficult because of how much glue I used LOL. I actually love making changes more than running trains. I was redoing the last 4 feet when my wife offered me the chance to switch rooms. I hope to add a few things I've had on previous layouts that I missed on this one.
Continuing from yesterday I brought the area I cut out up to level. I also soldered in 4 sections of 054 and 1-30 inch straight going towards the new area.
Started casting rock faces for my extension since I could not stand my foam rock sculpting results. Takes far less time and looks way better to make plaster casts. So meanwhile I decided to throw some paint on the backdrop to "see" what it wants to be.
The paint job is just a "what if". Looking at this section and just to the right, I need to add distant mountains to balance the nearer mountain to the right of this view. I'll also have to think about how I will bring the sky blue to come around to that side. This blue is way way too blue to the eye, so the whole section needs a cover up prime and repaint. The horizontal joint seams were intentionally left unsanded and rather rough. Really interesting how the "texture" shows up as clouds - thought it might. a lot of work to do. Thinking the trees behind the water need to be taller (closer perspective). The degree of perspective angle looks too severe. Probably just above the roof line with the mountain behind.
Before - previously posted.
Chalk this one up to making lemonade out of a lemon. One of the LED lights gave out on my elevated station. I made it removable, so replacing it was an option, even though it’s a pain to disconnect all the wiring lockons. However, I decided to go an alternate route, purchasing an appropriate artitisa figure from trains.com and modeled a technician replacing a burnt out light, just like you’d have in the typical urban setting that I’m modeling. Works for me. On to the next project……
Thinking about crossing lights…..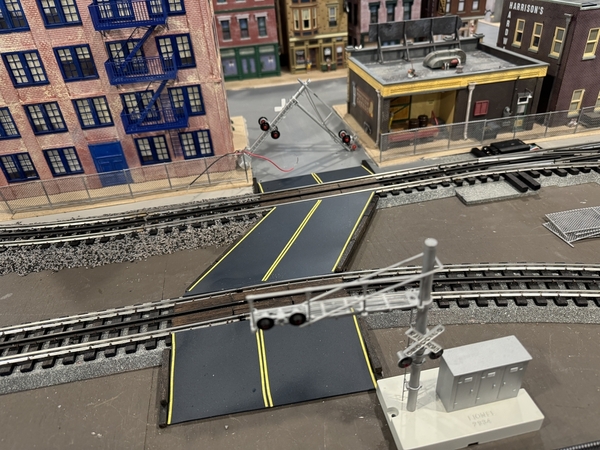
…..and, another ITAD in both directions……
I own two MTH ITADs and two Lionel 153Rs. I haven’t used ITADs since the 1993-03 layout. Does anyone have pros/cons about them. Is Z Stuff or another manufacturer the way to go? I remember the Lionel one working well, but it is so blasted big……..
Peter
Nothing currently but I started a tread to try to figure out my track issues. I'll probably go back and forth between these 2 as I try to make progress.
Put my new to me 0-6-0 on the rails after servicing it.
Nice engine
Bob
@RSJB18 posted:Put my new to me 0-6-0 on the rails after servicing it.
Nice engine
Bob
Good looking engine Bob, good luck with it.
Gene
Well the rock molds were still a little damp for either adhesive or plaster to stick. Went ahead and gave another go at fixing the perspective. Getting better. Will add a poster board curve in the corner so not too concerned about the right side for now. Now to imagine sitting at a table overlooking the lake and enjoying the day's fare at my favorite supper club. Almost there right now....
@ScoutingDad posted:Well the rock molds were still a little damp for either adhesive or plaster to stick. Went ahead and gave another go at fixing the perspective. Getting better. Will add a poster board curve in the corner so not too concerned about the right side for now. Now to imagine sitting at a table overlooking the lake and enjoying the day's fare at my favorite supper club. Almost there right now....
Your work looks great.
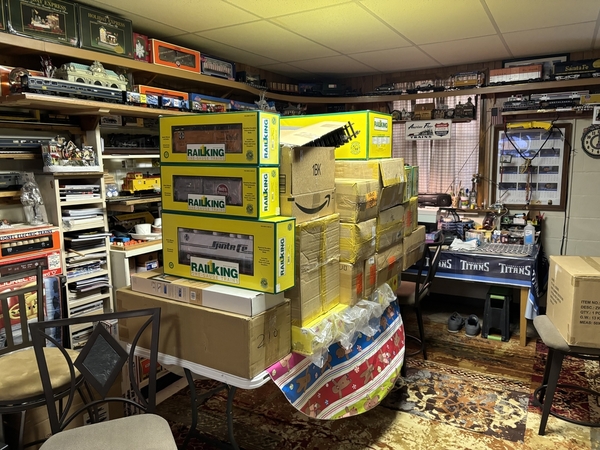
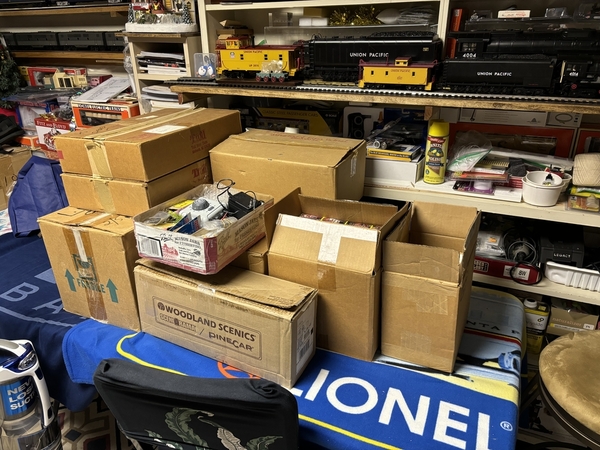
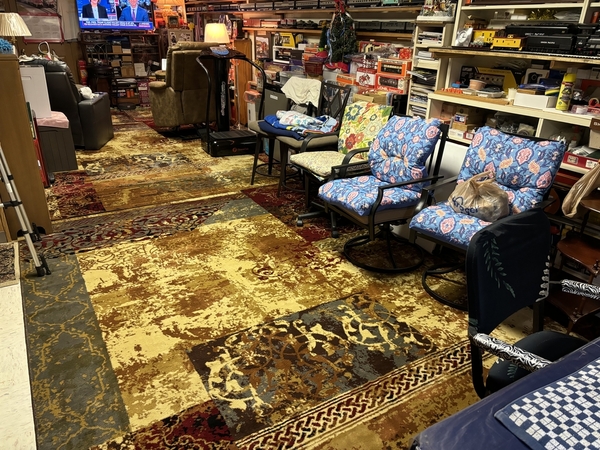
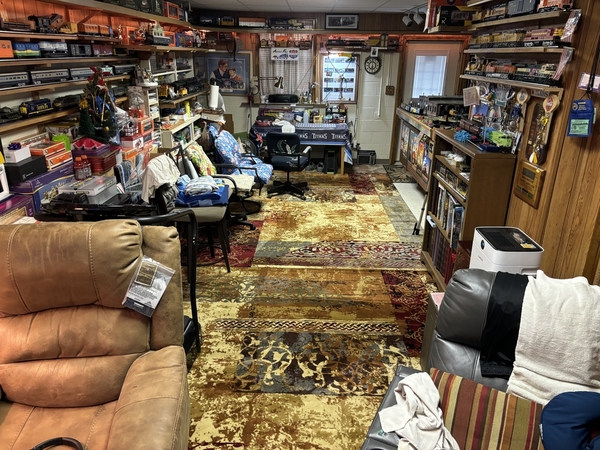
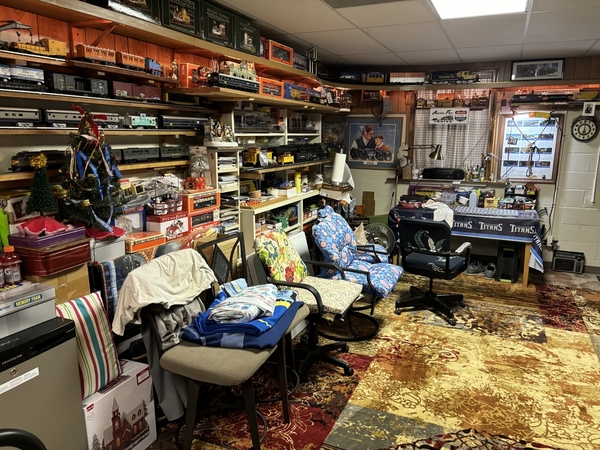
@ScoutingDad , wow, your layout is looking great, and your backdrop is beautiful. I haven’t been working on my layout so to speak, but I’ve just had the good fortune to empty my train room of all of my friends collections, all gone. So, we changed the rugs in our train room and it’s so soft to walk on, so when in Tennessee, come see me. Happy Railroading Everyone 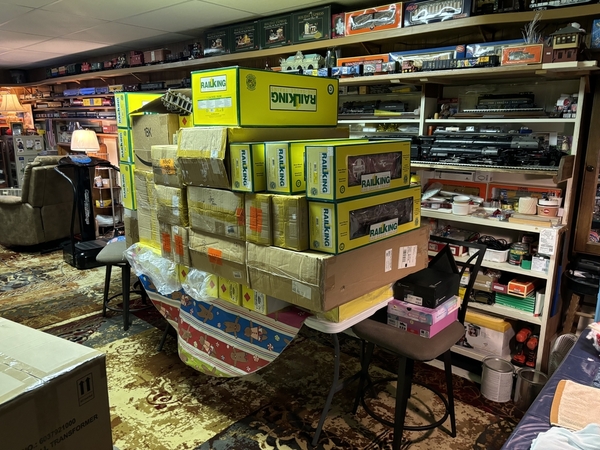
Decals arrived from K4 and the reassignment of my four MTH Club cars is complete! Happy weekend!
Cheers, Dave
Great work everyone! I would comment more, but it's to hard with my fat fingers and a small phone. If I get out of the Hospital today I will catch up tomorrow.
I hope you all have a great weekend and find time to have fun with your layouts and trains.
P.S. nothing serious back went out again.
@darlander posted:Decals arrived from K4 and the reassignment of my four MTH Club cars is complete! Happy weekend!
Cheers, Dave
Dave, your repaint work is fantastic & I also love your scenery on the layout.
@Dave Ripp. posted:Dave, your repaint work is fantastic & I also love your scenery on the layout.
@darlander Dave, I second Dave R's comment!!
Made the time to do some new industrial siding work on my pike. A couple of hours here and there. Another one going in this weekend.
@mike g. posted:Great work everyone! I would comment more, but it's to hard with my fat fingers and a small phone. If I get out of the Hospital today I will catch up tomorrow.
I hope you all have a great weekend and find time to have fun with your layouts and trains.
P.S. nothing serious back went out again.
Like you need that right now......
Rest up Mike, hope you make a speedy recovery.
Bob
Great work everyone!
What did I do with my layout the last couple of days? I cleared out all the obstacles in the middle of the floor!!
I got this really nice chest of drawers from a neighbor who was giving it away. It is really solid! I put it next to the workbench, and filled it with a lot of stuff from under the layout. I found a leftover N-scale engine and caboose from days gone by and thought why not?! Get out your microscopes everyone! I have 4 or 5 little DC power packs I can choose from to run it.
I haven't completed organizing, but I was able to fit the shop vac, rolling cart, and rolling stool under the layout! That is huge for me! ![]() The stuff on top of the tracks and a few more items are going on the For Sale list. I don't have room on the layout for them.
The stuff on top of the tracks and a few more items are going on the For Sale list. I don't have room on the layout for them.
Put up a curved section of poster board to cover up the hard 90 degree corner. Looked great until I painted it. Paper did what paper does when wet - it puckers. After a couple of hours of drying it may be OK, but next time I paint both sides prior to gluing it in place.
Question for you plaster casters out there. I did a bunch of rock plaster casts for under the resort. I cannot get anything to stick to them, tried liquid nails, a 3M adhesive, plaster and setting drywall compound. Nothing will grab the back surface of the casting even with scratches in place to give a place to hold. I've done this before and have never had this issue. I even baked the castings to ensure they were dry. Same problem. Any ideas???
The substrate is pink foam with a coating of plaster over the surface, rough and no issue there with hold.
If this helps...I did not have any rounded corners... I used foam (core?) board. The painting went well. The plaster and screen I used seemed to adhere to the board. No bubbling.
Tom
@leapinlarry There sure were a lot of boxes in the train room. Looked like quite a few One Gauge in there. Ok I see the train room is there a layout somewhere?
Thanks for the comments on TPRR. I have too many ideas floating around to decide which to do first. I prefer to run my engines with a decent level of landscaping otherwise it just becomes running an uninteresting loop. It is getting there.
@ScoutingDad posted:Put up a curved section of poster board to cover up the hard 90 degree corner. Looked great until I painted it. Paper did what paper does when wet - it puckers. After a couple of hours of drying it may be OK, but next time I paint both sides prior to gluing it in place.
Question for you plaster casters out there. I did a bunch of rock plaster casts for under the resort. I cannot get anything to stick to them, tried liquid nails, a 3M adhesive, plaster and setting drywall compound. Nothing will grab the back surface of the casting even with scratches in place to give a place to hold. I've done this before and have never had this issue. I even baked the castings to ensure they were dry. Same problem. Any ideas???
The substrate is pink foam with a coating of plaster over the surface, rough and no issue there with hold.
How about tile adhesive???? The thin-set stuff is available ready mixed in the usual stores.
Bob
Access to this requires an OGR Forum Supporting Membership
